How to Use OBD2 Scanner for Beginners Step by Step
Use the scanner to read codes first, then research the likely cause before clearing anything. For beginners, the safest and most useful approach is to treat the scanner as a guide, not a final diagnosis.
How to use OBD2 scanner for beginners? Start by plugging the scanner into your vehicle’s OBD2 port, turning the ignition to the correct position, reading the stored codes, and looking up what they mean before you clear anything. This guide walks you through the safe, beginner-friendly process so you can save time, avoid guesswork, and know when a scan tool is enough versus when you need a mechanic.
- Start safely: Park, locate the OBD2 port, and connect the scanner with the ignition in the.
- Record first: Save codes and freeze-frame data before you clear anything.
- Use context: Codes, live data, and readiness monitors work together; one code alone rarely tells the.
- Check compatibility: Match the scanner to your vehicle year, fuel type, app needs, and update support.
- Know the limits: A scanner cannot replace mechanical inspection or diagnose every safety-related problem.
How to Use an OBD2 Scanner for Beginners: The Fast Answer
The basic process is simple: find the port, connect the scanner, read the diagnostic trouble codes, and use those codes as a starting point for diagnosis. If you only remember one rule, make it this one: never clear codes before you record them, because that can erase useful clues about what triggered the warning light.
What an OBD2 Scanner Does and What It Cannot Do
An OBD2 scanner reads data from your vehicle’s onboard diagnostics system. On most U.S. vehicles, that means it can pull emission-related trouble codes, show freeze-frame data, display some live sensor information, and sometimes check readiness monitors for inspection purposes.
What it cannot do is diagnose every problem by itself. A code for a misfire, oxygen sensor, or evaporative system fault does not automatically tell you which part failed. It points you toward a system or condition that needs further checking.
Before You Plug In: OBD2 Port Location, Vehicle Compatibility, and Safety Checks
Before you connect anything, make sure your vehicle supports OBD2 and that the scanner is meant for the type of car or truck you drive. Most gas vehicles sold in the U.S. use OBD2 starting with the 1996 model year, while diesel and heavier-duty vehicles may have different diagnostic behavior depending on the system and model.
Where the OBD2 port is usually located in U.S. vehicles
The diagnostic port is usually under the dashboard on the driver’s side, often near the steering column, lower knee panel, or fuse-box area. In some vehicles it may sit a little farther left, right, or above the pedals, so check the owner’s manual if you do not see it right away.
Check: Verify make, model, year, trim, voltage, ports, mounting space, and OEM requirements. Limitations: Some older vehicles, specialty trucks, and nonstandard imports may not follow the usual OBD2 layout or protocol.
Gas vs. diesel, 12V system basics, and model-year compatibility
Most OBD2 scanners are designed for standard 12V passenger vehicles, which covers many cars and light trucks. Diesel applications can work too, but support varies by scanner and vehicle, so check the manual rather than assuming every code reader will cover every diesel system.
Model year matters as well. If your vehicle is too old, uses a non-OBD2 system, or has a manufacturer-specific diagnostic setup, a basic reader may not communicate correctly.
When to stop and get professional help instead
Stop and seek help if the vehicle has a severe driveability problem, a no-start condition, repeated stalling, fuel smell, overheating, electrical burning odor, or warning lights tied to brakes, airbags, steering, or hybrid/high-voltage systems. Those problems can be safety-sensitive and may require a trained technician.
Step-by-Step: How to Use OBD2 Scanner for Beginners
If you want the simplest workflow, think in five steps: power the vehicle correctly, connect the scanner, read the code and freeze-frame data, research the likely causes, and clear codes only after the repair is confirmed. For a more detailed connection overview, see how to connect an OBD2 scanner.
Step 1: Turn the ignition to the correct position
Most scanners need the ignition in the ON position, but the engine may stay off for the first scan on many vehicles. Some tools power up from the vehicle port automatically, while others need the key in accessory or run mode.
Follow the scanner instructions carefully, because the exact sequence can vary by product and vehicle. If the scanner asks for engine-on live data, you can start the engine after the initial connection is complete.
Step 2: Connect the scanner securely
Insert the connector firmly into the OBD2 port until it seats fully. A loose connection can cause communication errors, intermittent power, or a failed scan.
Step 3: Read trouble codes and freeze-frame data
Once the scanner connects, choose the menu option for trouble codes or diagnostic trouble codes. Write down any codes exactly as shown, along with freeze-frame data if your scanner provides it.
Freeze-frame data is a snapshot of conditions when the fault was stored, such as engine temperature, speed, or load. That context can help narrow down whether the issue happened during cold start, highway driving, idle, or acceleration.
Step 4: Look up code meaning and confirm the likely cause
Use the code as a clue, not a verdict. Generic codes often have broad meanings, while manufacturer-specific codes can point to a system or component that only applies to your vehicle brand.
Begin with the most common and least expensive checks first: loose gas caps for evaporative faults, damaged wiring, vacuum leaks, worn plugs, dirty sensors, or obvious hose problems. If the code returns and the symptom matches, you can narrow the diagnosis further.
Step 5: Clear codes only after the fix is verified
Clearing a code should be the last step, not the first. If you erase the code before checking the cause, you may lose the evidence you need to confirm the repair.
After the fix, clear the code and then drive the vehicle normally to see whether the warning light stays off and the monitor resets correctly. If the code returns, the underlying issue likely remains.
Verify the vehicle, power, port access, and scanner instructions before plugging in.
Keep the cable away from pedals, airbags, and moving parts while the car is parked.
Read codes, save freeze-frame data, research the likely cause, and clear only after repair confirmation.
Understanding OBD2 Codes, Live Data, and Readiness Monitors
Beginners often focus only on the code, but the other screens matter too. Live data and readiness information can tell you whether the problem is active now, whether a repair is taking effect, and whether the vehicle is likely to pass an emissions check.
Generic vs. manufacturer-specific codes
Generic codes start with letters like P0 and are standardized across many vehicles. Manufacturer-specific codes often start with P1 or another pattern and can mean something different depending on the brand.
That is why a code lookup should always be matched with the vehicle make, model, year, engine, and symptoms. A code alone is not enough to justify replacing a part.
Live data basics for beginners
Live data shows sensor values in real time, such as coolant temperature, fuel trims, oxygen sensor readings, or engine speed. For a beginner, the goal is not to memorize every number but to notice whether one reading looks obviously abnormal compared with the others or with the vehicle’s normal behavior.
If a scanner offers graphing, that can make trends easier to spot. Still, live data is most useful when paired with the symptom you are trying to solve, not when viewed in isolation.
Readiness monitors, inspection checks, and drive cycle notes
Readiness monitors show whether the vehicle has completed the self-checks needed for emissions-related inspection. If you clear codes, many monitors reset and may need a full drive cycle before they become ready again.
Drive cycle requirements vary by vehicle, so the best source is the owner’s manual or a repair database specific to your model. Do not assume one short trip is enough.
Choosing the Right OBD2 Scanner in 2026: Features That Matter
Not every scanner is the right fit for every driver. The best choice depends on how often you plan to scan, whether you want app-based convenience, and how much diagnostic depth you need.
If you are deciding whether a scanner is worth adding to your garage, our guide on whether an OBD2 scanner is worth buying can help frame the decision.
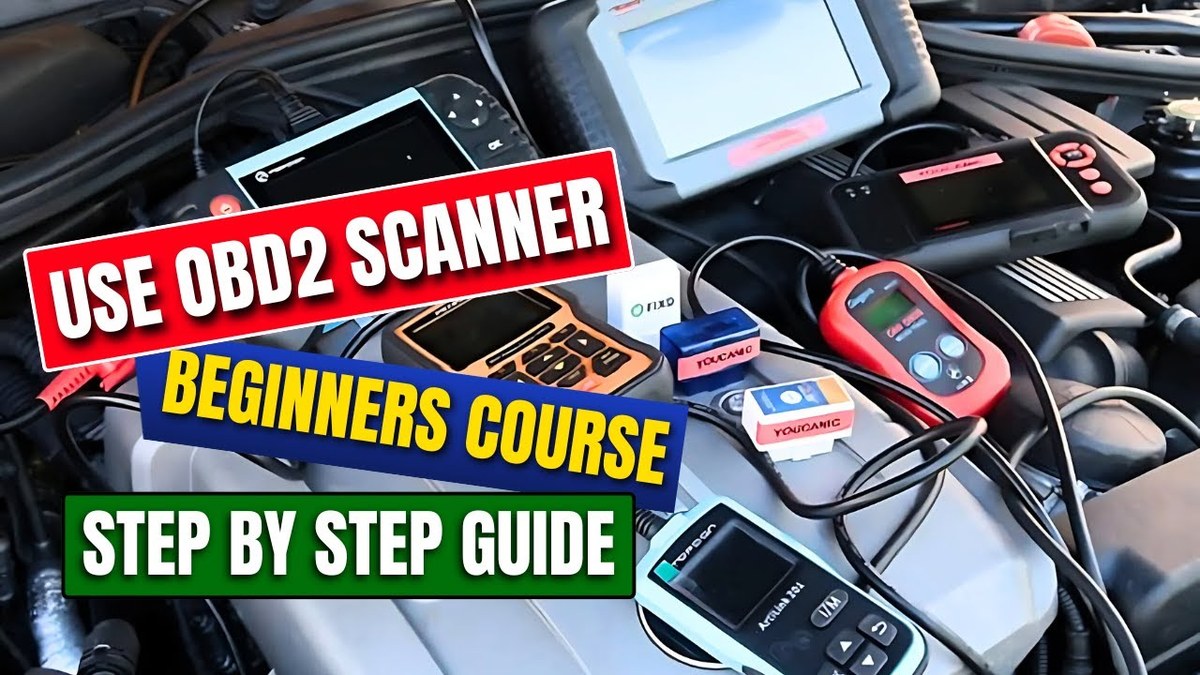
Basic code readers vs. Bluetooth app scanners vs. advanced bidirectional tools
Basic code readers are best for simple code retrieval, clearing, and readiness checks. Bluetooth app scanners add phone-based graphs, live data, and more convenience, but they depend on app quality, phone compatibility, and permissions.
Advanced bidirectional tools are for users who need service functions or more control over vehicle systems. They can be powerful, but they also cost more and may require more learning.
| Option | Best for | Owner consideration | Driver consideration |
|---|---|---|---|
| Basic code reader | Simple code checks and emissions readiness | Lower cost and fewer setup steps | Usually less distracting and easier to use |
| Bluetooth app scanner | Phone-based live data and code reading | May require app permissions or subscriptions | Phone alerts and screen use can distract if not parked |
| Advanced bidirectional tool | Deeper diagnostics and service functions | Higher ownership cost and more learning | Best used while parked and with care |
Screen, power source, update support, and app permissions
Look for a screen that is easy to read in daylight and menus that are simple enough for a beginner. A tool that is hard to navigate can slow diagnosis and increase mistakes.
Also check whether the scanner updates its vehicle coverage, whether it uses USB or app-based updates, and whether the app requests access to location, contacts, or other phone data. If the permissions seem broader than necessary, review them before signing in.
Subscription costs, cloud accounts, and privacy considerations
Some scanners and app ecosystems are more than a one-time purchase. They may involve subscriptions, cloud storage, account creation, or paid repair databases.
For owners, the real cost is not just the sticker price. It is the mix of hardware, updates, app support, and any recurring service fees.
Common Beginner Mistakes, Troubleshooting, and Limitations
Most beginner problems come from small setup issues, not broken scanners. A loose connector, weak vehicle battery, wrong ignition position, or unsupported vehicle can cause confusion that looks like a tool failure.
Why codes return after clearing
If a code comes back after clearing, the fault was not fixed or the vehicle has not completed enough driving for the issue to reappear. Some faults are intermittent, so they may disappear for a while and then return later.
That is why code clearing should be used as a verification step only after the repair, not as a way to hide a warning light.
Battery voltage issues, weak connections, and communication errors
Low vehicle battery voltage can make some scanners behave unpredictably. If the car battery is weak, the tool may fail to connect, the screen may reset, or the scan may stop partway through.
If you get repeated communication errors, check the port, the ignition position, and the vehicle battery before assuming the scanner is bad.
What an OBD2 scanner cannot diagnose by itself
An OBD2 scanner cannot inspect compression, measure fuel pressure unless the tool and vehicle support it, or confirm a mechanical failure on its own. It also cannot replace visual inspection, a test drive, or a technician’s experience.
Think of it as a starting point. The code tells you where to look, but the diagnosis still comes from checking the system carefully.
Frequently Asked Questions
Most U.S. gas vehicles from the 1996 model year onward use OBD2, but some diesels, heavy-duty vehicles, and older models may differ. Check the owner’s manual or the port location before buying a scanner.
Many basic OBD2 scanners can clear emission-related codes, but clearing is only useful after you confirm the repair. Some safety or manufacturer-specific faults may need a better tool or professional diagnosis.
Some scanners can stay plugged in, but power draw, battery condition, and vehicle design vary. If you are unsure, unplug it when parked for long periods and follow the scanner and vehicle manuals.
Some Bluetooth scanners work with free apps, while others rely on paid features, cloud accounts, or subscriptions. Check the app permissions, update policy, and recurring costs before you buy.
A scanner can help you check readiness monitors and confirm whether a code is still present, but it cannot guarantee a passing result. State inspection rules vary, so verify current requirements with your local agency.
Confirm vehicle compatibility, code-reading and live-data features, update support, app permissions, and any subscription costs. Also make sure the tool is easy to use and won’t create distractions or safety issues in the cabin.