Why Does My Tire Inflator Stop Before Reaching the Set Pressure? Fix
Your inflator stops early because of heat, power loss, a drifting sensor, or a simple setting mistake. Check the tire with a separate gauge and let the unit cool before assuming it is broken.
If you have ever asked why does my tire inflator stop before reaching the set pressure, you are not alone. This is one of the most common complaints from drivers who rely on portable air pumps for everyday tire maintenance.
- Thermal protection: Most portable inflators have duty cycle limits; heat triggers early shutdown.
- Sensor drift: A separate digital gauge is the only way to confirm the inflator display is.
- Power matters: Weak 12V sockets and low battery voltage cause premature shutoff.
- Check units: PSI, BAR, and kPa mix-ups are a common cause of early auto-stop.
- Know the tire: Hot tires read higher than cold placard pressure, so verify cold readings.
Why Does My Tire Inflator Stop Early? The Short Answer
Your inflator is usually not broken. It is stopping because of a built-in safety feature, a power problem, or a sensor reading issue. The auto-stop function is designed to protect the motor and the tire, but it can trigger early for several reasons.
The most common causes are thermal overload protection, a miscalibrated pressure sensor, a weak 12V socket, wrong pressure units, or a kinked hose. Each has a different fix, and most are simple to check at home.
If your unit shuts off completely and will not restart right away, that points to thermal protection. If it restarts after a few minutes, you are dealing with a duty cycle limit, not a dead unit. For a deeper look at total shutdowns, see our guide on why your portable tire inflator keeps shutting off.
The 5 Most Common Causes of Premature Inflator Shutoff
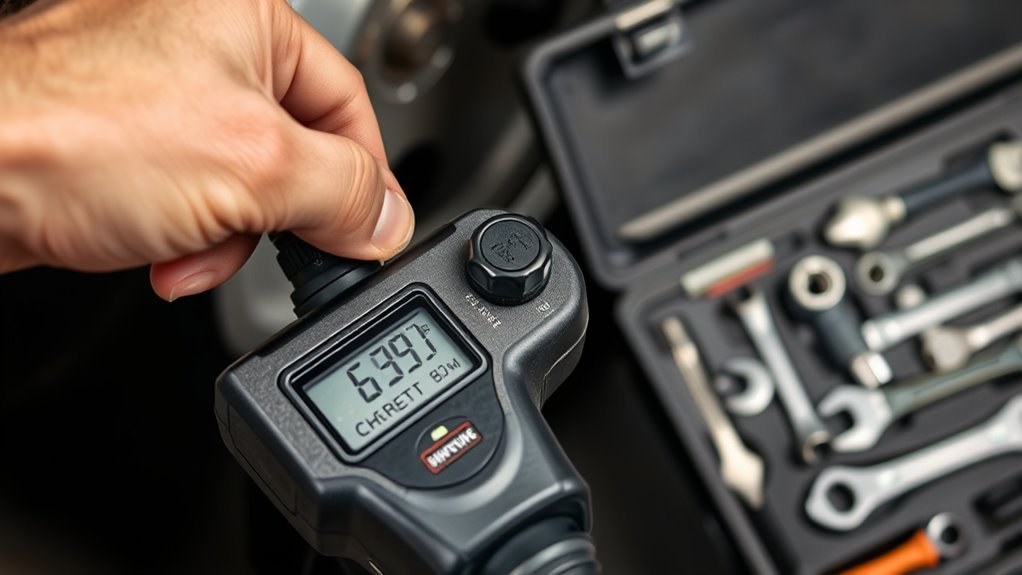
Here are the five reasons you will see most often, listed from the most common to the least obvious.
Thermal Overload Protection and Duty Cycle Limits
Portable inflators have small electric motors that generate heat quickly, especially when filling a large or very low tire. To prevent damage, most units include a thermal cutoff that kills power before the motor overheats.
Every model has a duty cycle rating, which tells you how long it can run before it needs to cool. The rating varies by model, so check your manual. If you are filling a big tire from a very low pressure, you can hit that limit quickly.
Heat is the number one cause of early shutdown. For a full breakdown of why heat builds up, read our article on why your tire inflator gets hot.
Miscalibrated Pressure Sensors and Gauge Drift
The auto-stop feature relies on a small pressure sensor inside the inflator. Over time, that sensor can drift. Drops, temperature swings, and rough storage in a trunk can all affect calibration.
When the sensor drifts, the unit may think it has reached 32 PSI when the tire is actually at 28 PSI. The display shows the wrong number, and the compressor stops early. This is why a separate gauge is a smart investment.
Power Supply Voltage Drop at the 12V Socket
Most portable inflators plug into the 12V accessory socket. That socket shares power with other systems, and the wiring can be thin on some vehicles. When the inflator draws power, the voltage can drop below what the motor needs.
Many inflators have undervoltage protection. If the voltage dips too low, the unit shuts off to protect its electronics. This can happen even when your battery seems fine. Try a different socket if your vehicle has one.
Wrong Pressure Units or Misread Preset Values
Digital inflators let you switch between PSI, BAR, and kPa. If the unit is set to BAR and you enter 2.4, it will stop at about 35 PSI — not the 2.4 PSI you intended. This is one of the easiest mistakes to make, especially after someone else uses the unit.
Always check the unit label on the display before setting your target. Most inflators show the active unit in small letters or an icon near the reading.
Kinked Hose or Blocked Airflow
A kinked hose creates back pressure. The pump has to work harder, which builds heat and can trigger thermal protection. A blocked valve core or a chuck that is not seated properly can cause the same effect.
Straighten the hose before you start, and listen for air leaking at the valve. If you hear hissing, reseat the chuck.
Check Your Target Pressure: Door-Jamb Placard vs. Cold Pressure
Your target pressure comes from the vehicle placard, not from the number molded into the tire sidewall. The placard is usually on the driver’s door jamb or inside the fuel door. It lists the recommended cold tire pressure for your vehicle’s factory tire sizes.
Cold pressure means the tires have not been driven on for at least a few hours. If you drive to a gas station and check the pressure, the tires are warm and the reading will be higher. If you set the inflator to the placard number on a warm tire, it will stop early because the tire is already above the cold target.
For a complete walkthrough of checking pressure correctly, see our guide on how to check tire pressure at home.
How to Diagnose Your Inflator: A Step-by-Step Guide
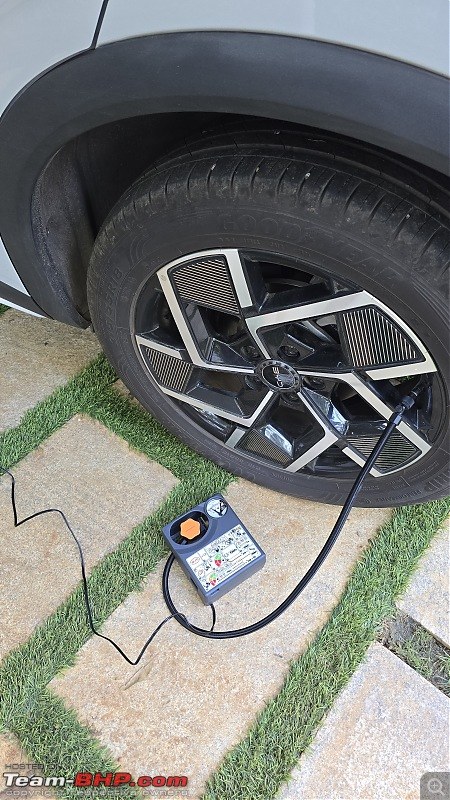
Work through these checks in order. Most take less than five minutes and require no tools.
Step 1: Verify Pressure with a Separate Digital Gauge
Attach the inflator, set it to your target, and let it run. When it stops, disconnect it and check the tire with a separate digital gauge. If the tire is below the target, the inflator’s sensor is likely drifting.
If the tire matches the inflator display but is still below the placard pressure, the problem is your target setting, not the unit.
Step 2: Check the Duty Cycle Rating in Your Manual
Look up the duty cycle in the owner’s manual. If you ran the unit near that limit, let it cool completely and try again. If the unit stops well before the rated time, you may have a sensor or power issue.
Step 3: Inspect the Hose, Chuck, and Valve Core
Check the hose for kinks, cracks, or loose fittings. Press the chuck onto the valve stem and listen for leaks. A bad valve core can leak air faster than the inflator can add it.
You can test the valve core by pressing the pin in the center. It should feel springy. If air hisses out continuously, the core may need replacement.
Step 4: Test the 12V Socket Output
Plug the inflator into a different 12V socket if your vehicle has one. If it works there, the original socket or its wiring is weak. You can also plug in a phone charger to see if the socket is providing power at all.
- Check the tire with a separate digital gauge after every auto-stop
- Let the inflator cool for the full time listed in the manual
- Verify the pressure unit (PSI, BAR, kPa) before setting the target
- Rely on the inflator display as your only pressure reading
- Restart a hot inflator repeatedly to force it to finish
- Ignore a tire that loses pressure again within a day
When the Problem Is the Tire, Not the Inflator
Sometimes the inflator is working perfectly, and the tire is the real issue.
Hot Tire Pressure vs. Cold Pressure
Tires heat up as you drive, and pressure rises with temperature. A tire that reads 35 PSI hot may be at 32 PSI cold. If you set the inflator to 35 PSI on a cold morning, it will stop early because the tire is already there.
Always use the cold placard pressure as your reference. If you must add air after driving, add a few PSI above the placard and recheck in the morning.
Puncture Location and Temporary Repair Limits
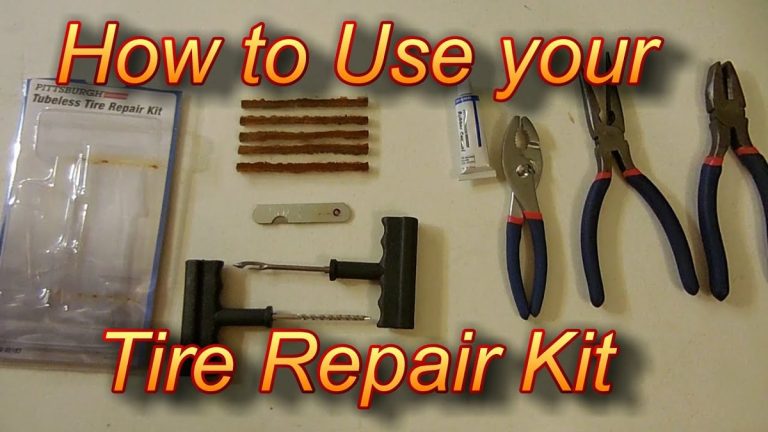
A slow leak from a nail or screw will make the inflator run longer and stop earlier if the leak is fast. Temporary plug repairs are only meant for the tread area, not the sidewall. If air escapes faster than the inflator can add it, do not keep running the unit.
Check the tire for visible damage before you blame the inflator.
TPMS Relearn After Inflation
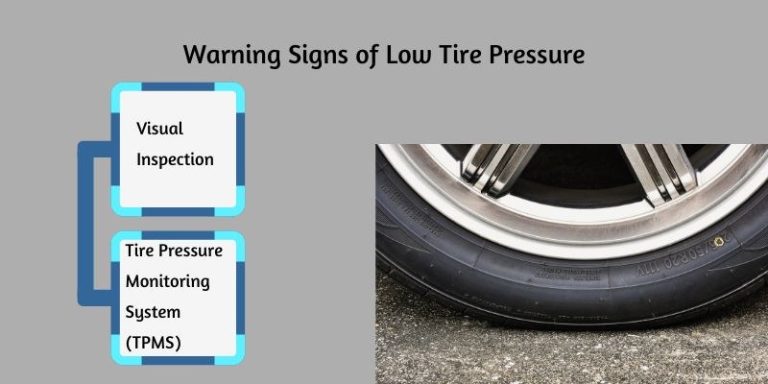
After you add air, the tire pressure monitoring system may need a few minutes to update. Some vehicles require a relearn procedure after inflation or rotation. If the warning light stays on, the system may be showing a stored fault rather than a live low-pressure reading.
For more on this, see our article on why your TPMS light flashes then stays on.
Inflator Power and Battery Considerations
Power issues are behind many early shutdowns, especially with 12V inflators.
System Voltage and Battery Health
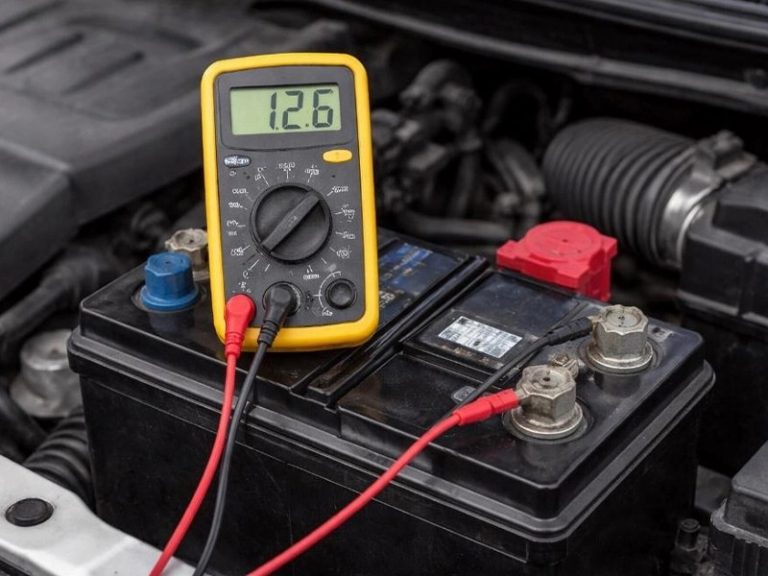
An inflator draws a lot of current. If your battery is weak or the charging system is not keeping up, the voltage can sag. Many inflators shut off below a certain voltage to protect the motor and the vehicle’s electronics.
If the engine is off, the battery alone must supply the inflator. A weak battery will cause early shutdowns. Running the engine while inflating keeps the alternator working and usually gives the inflator steadier power.
Correct Connection Order for Battery Clamps
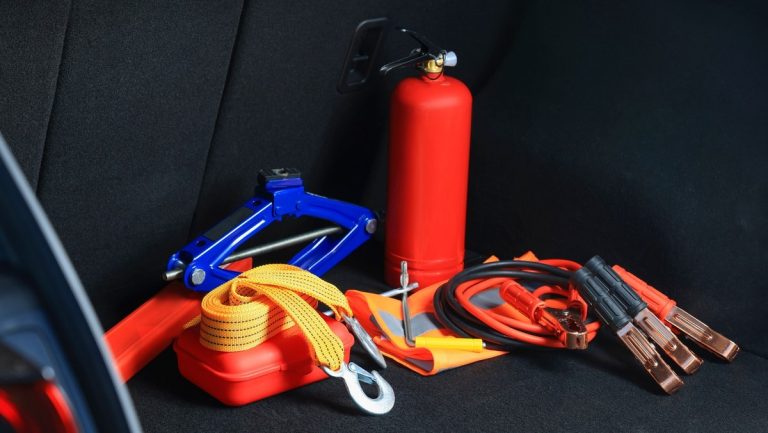
Some inflators come with battery clamps instead of a 12V plug. The connection order matters.
Attach the red clamp to the positive battery terminal.
Attach the black clamp to a clean, unpainted metal ground point on the engine or chassis, not directly to the negative battery terminal unless the manual says otherwise.
Remove the negative clamp first, then the positive clamp, once the inflator is off.
Hybrid and EV Cautions
Hybrid and electric vehicles have high-voltage systems under the hood. The 12V battery is usually in the trunk or under a cover. Do not assume the connections are in the same place as a gas car.
When to Stop DIY and Call a Professional
You can handle most early-shutdown causes at home. But some situations need a professional.
Call a tire shop if the tire loses pressure again within a day, if you see a bulge or sidewall crack, or if the valve stem is damaged. Call a mechanic if the 12V socket is dead across multiple accessories, or if the battery fails a load test.
If your inflator is under warranty and stops early even after cooling, contact the manufacturer before taking it apart. Opening the housing usually voids the warranty.
Choosing a Better Inflator: What to Look For
If you are tired of early shutdowns, the next inflator you buy should fix the root cause.
Duty Cycle Rating and Continuous-Duty Inflators
Look for a unit with a longer duty cycle. Some models are designed to run much longer before needing a break. Continuous-duty inflators are usually larger, run cooler, and cost more, but they are worth it if you fill big tires often.
Gauge Accuracy and Auto-Stop Precision
Check the stated accuracy of the built-in gauge. Accuracy varies by model, and budget units are often less precise than their displays suggest. Look for a unit with a separate digital sensor head or a manufacturer-stated accuracy of around 1 PSI.
Power Source: 12V, Battery, or AC
Cordless inflators with built-in batteries avoid 12V socket voltage drop entirely, but they add battery maintenance and replacement cost. 12V units are cheap and reliable if your socket is healthy. AC-powered units are best for garage use but useless at the roadside.
Final Thoughts and Next Steps
An inflator that stops early is usually telling you something: it is too hot, the power is weak, the sensor is off, or the tire is not what you think it is. Start with the cheapest fix — verify the pressure with a separate gauge and check the hose. Then move to power and duty cycle checks.
If you still cannot get to the placard pressure, compare your unit against the buying criteria above. A better inflator with a longer duty cycle and accurate gauge will save you time and frustration.
- Best for: Drivers who want to fix an early-stopping inflator without replacing it — check the sensor, hose, and 12V socket first.
- Think twice if: The unit shuts off within seconds even when cold; that points to a faulty sensor or motor, not user error.
- Next step: Confirm your placard pressure, verify it with a separate digital gauge, and compare duty cycle ratings before your next inflator purchase.
Frequently Asked Questions
Yes, but only after it cools and you confirm the tire is not the problem. If it stops within seconds even when cold, stop using it and check the warranty.
Turn the unit off, unplug it, and let it cool for the time listed in the manual, usually 20 to 30 minutes. Do not hold the power button to force a restart while it is hot.
The most common reason is the 12V socket. Different vehicles have different socket wiring and fuse ratings. A weak socket on one car can cause undervoltage shutdown even when the inflator works fine elsewhere.
Cordless units avoid 12V socket voltage drop, but they can still hit thermal limits and battery limits. A fully charged cordless unit is usually more consistent, but the battery degrades over time and adds replacement cost.
Accuracy varies by model, and many budget units can be off by several PSI. Compare the inflator display against a separate digital gauge a few times a year to catch drift.
Replace it if the unit shuts off within seconds when cold, if the display shows error codes you cannot reset, or if the hose and chuck are damaged beyond repair. Also replace it if the warranty is expired and the sensor is clearly drifting.