OBD2 Scanner Not Turning on When Plugged in? Check the Fuse First
Start with the DLC fuse before you blame the scanner. A blown fuse is the most common cause and costs about a dollar to fix.
An OBD2 scanner not turning on when plugged in is one of the most common DIY diagnostic frustrations. Before you blame the tool, check the fuse that powers the data link connector (DLC) under your dash. It is a two-minute job that often fixes the problem for the price of a single fuse.
This guide walks you through the fuse check first, then covers voltage, ground, ignition, and scanner-side issues. You will also learn when to stop troubleshooting and call a professional.
- Check the fuse first: The DLC fuse is the most common reason an OBD2 port goes dead.
- Test pin 16: Battery voltage at pin 16 with the key in RUN confirms the port has.
- Grounds matter: Dirty or corroded pins 4 and 5 can stop a scanner from booting.
- Scanner quirks: Internal fuses, Bluetooth pairing, and app permissions can mimic a dead unit.
- Know your limits: Basic scanners miss ABS, airbag, and module-level codes.
Your OBD2 Scanner Not Turning On When Plugged In? Start With the Fuse
Why the DLC Fuse Is the First Suspect in Most Dead-Scanner Cases
The DLC fuse protects the wiring that feeds power to the OBD2 port. When it blows, the port goes completely dead. No scanner will power up, no matter how new or expensive it is.
Fuses blow for several reasons. A short in a cheap 12V accessory, a damaged circuit shared with the cigarette lighter, or a wiring fault can all trip it. The fuse is the weak link by design. It sacrifices itself to protect the vehicle’s computer modules from damage.
How to Confirm a Blown Fuse in Under Two Minutes
Turn the ignition to the RUN position so the dashboard lights come on. Check the fuse panel diagram on the cover or in the owner’s manual. Look for labels like DLC, CIG, ACC, or OBD.
Pull the fuse with the fuse puller or a pair of needle-nose pliers. Hold it up to a light. A blown fuse shows a broken metal strip inside, often with a dark burn mark across the plastic. If the strip looks intact, the fuse is probably fine.
Step-by-Step: Find, Test, and Replace the OBD2 Port Fuse
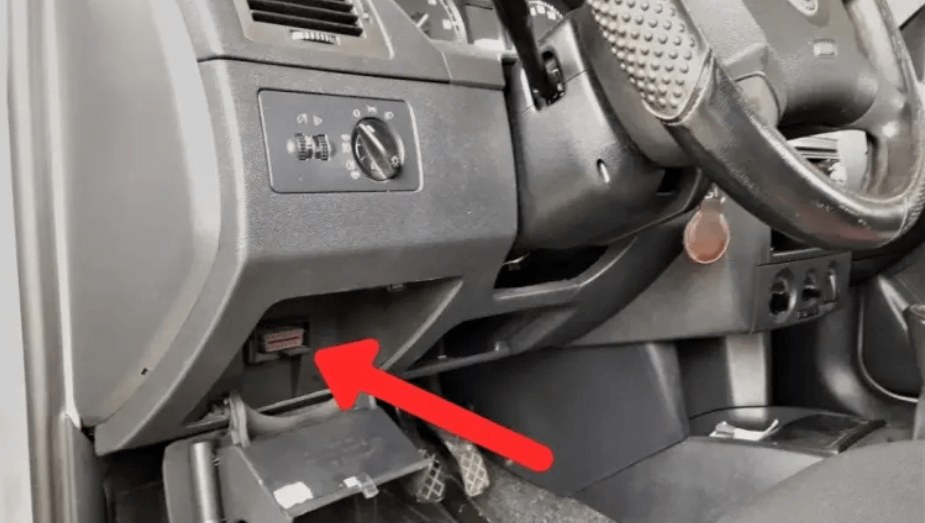
Locating the Cabin Fuse Panel, Reading the Diagram, and Matching Amp Ratings
The cabin fuse panel is usually under the driver’s side dash or behind a small cover near the steering column. Some vehicles also have a fuse box under the hood. The owner’s manual shows both locations.
Check the owner’s manual or the fuse panel cover for the DLC, CIG, ACC, or OBD fuse location.
Use the fuse puller or needle-nose pliers and look for a broken metal strip inside the plastic.
Install a new fuse with the exact amp rating shown on the diagram, then test the scanner again.
Pull-and-Inspect vs. Multimeter Continuity Testing
Visual inspection catches most blown fuses, but not all. Hairline cracks in the metal strip can hide from the naked eye. A multimeter continuity test is more reliable.
Set the multimeter to continuity or ohms. Touch one probe to each of the two small metal tabs on top of the fuse. A beep or a near-zero reading means the fuse is good. No beep means it is blown.
- Turn the ignition to RUN before testing the port
- Match the fuse amp rating exactly when replacing
- Check pin 16 voltage and ground continuity with a multimeter
- Install a higher-amp fuse to stop repeated blowouts
- Clear codes before recording the diagnostic information
- Ignore a damaged battery or a hot fuse panel
What the OBD2 Port Needs to Wake Up: Voltage, Ground, and Battery Health
Pin 16 Power, Pins 4/5 Ground, and the 12V vs. 14V Ignition Difference
The OBD2 port has 16 pins. Pin 16 supplies battery voltage to the scanner. Pins 4 and 5 are grounds. If any of these fail, the scanner may stay dark even with a good fuse.
With the key in the RUN position, pin 16 should read close to battery voltage, usually around 12 volts. With the engine running, expect roughly 14 volts from the alternator. A reading near zero points back to the fuse, the wiring, or the battery.
Battery State of Charge vs. Health, Corrosion, and Hybrid/EV Cautions
A deeply discharged battery can still crank the engine slowly but may not deliver clean voltage to the port. Corroded battery terminals can also cause voltage drops that confuse a scanner or stop it from booting.
Test the battery at the terminals first. If the voltage is low, charge the battery and retest. If the port still reads low, the wiring between the battery and the DLC needs attention.
On hybrid and EV models, the 12V auxiliary battery powers the OBD2 port, not the high-voltage traction battery. Check the 12V battery health first. Our guide to the best OBD2 scanners for hybrid cars covers the coverage limits you need to know.
Ignition Mode, Protocol Gaps, and Scanner-Side Quirks That Mimic a Dead Unit
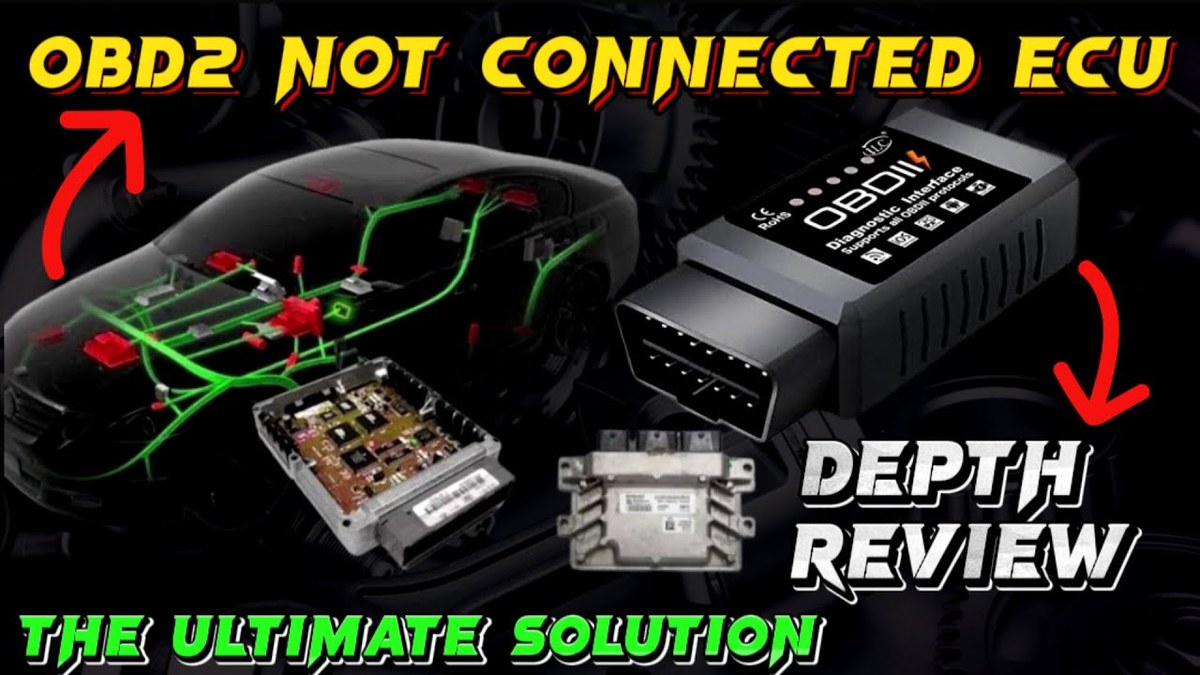
ACC vs. RUN Key Positions and Model-Year/Protocol Coverage Limits
Many scanners only power up in the RUN position, not ACC. Turn the key until the dashboard lights come on. On push-to-start vehicles, press the button once without your foot on the brake.
Older vehicles and some imports use protocols that newer basic scanners don’t support. If the scanner works fine in another car, the problem is likely a coverage gap, not a dead port.
Internal Fuses, Firmware Updates, Bluetooth Pairing, and App Permissions
Some scanners have internal fuses that can blow too. Check the scanner manual for fuse location and replacement. Bluetooth adapters need pairing, and their apps need location and nearby-device permissions on Android and iOS.
If the adapter LED lights up but the app shows no connection, the issue is usually software, not power. This is a common reason why your OBD2 scanner won’t connect to your car even when the port has power.
Once It Powers On: Code Limits, Emissions Readiness, Reset Limitations, and Pro Referrals
What Your Scanner Reads (and Misses): ABS, Airbag, and Module-Level Codes
A basic code reader only talks to the engine and emissions computer. It will not read ABS, airbag, transmission, or body-control module codes. That requires an enhanced or professional scanner.
If your check engine light is off but the ABS or airbag light is on, a basic scanner won’t help. You need a tool that supports those systems, or a professional diagnostic session.
Emissions Readiness, State-Law Variations, and Why Clearing Codes Isn’t a Fix
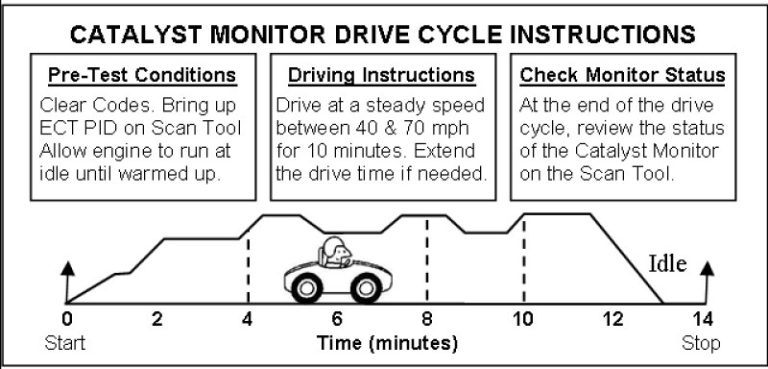
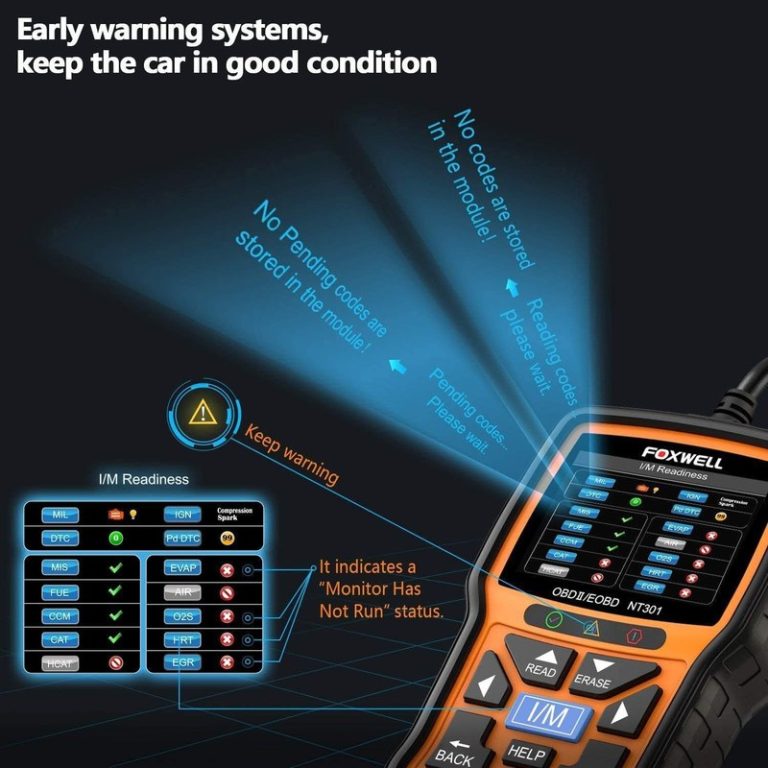
Clearing a code does not repair the fault. It also resets the emissions monitors. In states that require ready monitors for inspection, clearing codes can cause a failed test.
Some newer vehicles store permanent codes that survive clearing. A cheap scanner may erase the visible code but the permanent code stays. Learn more about whether a cheap OBD2 scanner can actually clear the check engine light before you rely on it.
Testing the Port Without a Scanner: Multimeter Checks and Electrical Safety
Verifying Pin 16 Voltage and Ground Continuity — Connection Order and Damaged-Battery Stop Conditions
Set the multimeter to DC volts. Connect the black lead to a good chassis ground, like a bare metal bolt. Touch the red lead to pin 16 inside the DLC. Compare the reading to the voltage at the battery terminals.
Then set the meter to ohms or continuity. Touch one probe to pin 4 and the other to pin 5. A low reading confirms the grounds are connected. If the battery case is swollen, leaking, or hot, stop immediately and do not probe the system.
Inspecting the DLC for Bent Pins, Corrosion, and Loose Mounting
Look inside the port with a flashlight. Bent pins, green corrosion, or a loose connector can interrupt power even when the fuse is fine. Inspect all 16 pins carefully.
Gently wiggle the connector while the scanner is plugged in. If the scanner flickers, the port has a loose connection. A loose DLC mount can also cause intermittent power loss on rough roads.
Choosing a More Reliable OBD2 Scanner: Code Readers vs. Bluetooth Adapters vs. Pro Tools
Side-by-Side Comparison: Power Needs, Protocol Coverage, Live-Data Depth, and Price
If you need a new scanner, match the tool to the vehicle and the jobs you actually do. The table below compares the three main types.
| Option | Best for | Owner consideration | Driver consideration |
|---|---|---|---|
| Basic code reader | Reading and clearing engine codes | Low upfront cost, no subscription | Misses ABS and airbag codes |
| Bluetooth adapter | Phone-based live data | Needs app updates and phone battery | Pairing and permissions can fail |
| Professional scanner | Module-level diagnostics | High cost, steeper learning curve | Covers ABS, airbag, and more |
Drawbacks, Alternatives, Warranty/Support, and a Transparent Verdict
Code readers are simple but limited. Bluetooth adapters depend on phone battery and app updates. Professional tools cost more but cover more modules and offer bidirectional controls for testing parts like fuel injectors.
Check the warranty and support policy before buying. Some brands offer free firmware updates; others charge for them. A scanner with poor support can become useless when a new vehicle protocol arrives.
Which Scanner Fits Your Vehicle, Driving Style, and Budget
A commuter who only reads engine codes needs less than a home mechanic servicing multiple cars. Match the tool to your actual needs, not the most expensive option on the shelf.
If you prefer using your phone, compare Bluetooth versus wired OBD2 scanners to see which setup fits your habits. For a simple, subscription-free tool, a basic code reader is still the most reliable choice for engine-only diagnostics.
Owner Takeaways: Preventive Maintenance, Roadside Readiness, and Next Steps
The $2 Fix: Spare Fuses, Glovebox Storage, and Post-Use Cable Inspections
Keep spare fuses in the glovebox. Match the amp rating exactly. A small fuse assortment costs a few dollars and can save you from a tow or a shop visit.
Inspect the scanner cable for frays and the connector for dirt after each use. Store the scanner in a dry place. A clean connector and a good fuse are the best prevention for a dead port.
When to Stop Troubleshooting and Book a Professional Diagnostic
If the fuse is good, pin 16 has voltage, the grounds are clean, and the scanner still stays dark, stop guessing. A wiring fault or a failed body control module needs professional diagnosis.
A professional can trace the circuit, check the modules, and confirm whether the port itself needs repair. That costs less than replacing parts on a guess.
- Best for: DIY owners who want a fast, low-cost fix for a dead OBD2 port.
- Think twice if: The fuse keeps blowing or the port still has no power after replacement.
- Next step: Test pin 16 voltage and ground continuity, then book a professional diagnostic if the problem persists.
Frequently Asked Questions
The most common cause is a blown fuse that powers the OBD2 port, often labeled DLC, CIG, or ACC. A dead battery, corroded ground pins, or a scanner-side issue can also stop power delivery.
It varies by make and model. Check the fuse panel diagram in the owner’s manual or on the fuse panel cover for labels like DLC, CIG, ACC, or OBD. The fuse is usually in the cabin fuse panel under the dash.
Set the multimeter to DC volts, connect the black lead to chassis ground, and touch the red lead to pin 16. With the key in RUN, you should see battery voltage. Check pins 4 and 5 for ground continuity with the meter set to ohms.
Yes. A deeply discharged battery may not deliver clean voltage to the port. Charge or test the battery before replacing fuses or scanners.
The scanner may not support the other vehicle’s protocol or model year. Older cars and some imports use protocols that basic code readers don’t cover.
If the fuse is good, pin 16 has voltage, the grounds are clean, and the scanner still won’t power on, stop guessing. A wiring fault or failed module needs professional diagnosis.



One Comment