What Is Mode 6 Data on an OBD2 Scanner and Why It Matters
Mode 6 data on an OBD2 scanner shows the stored numerical test results for your vehicle’s emissions monitors. It reveals how close each system is to its pass/fail limit, helping you catch early faults and verify repairs before clearing codes.
If you’ve asked what is mode 6 data on an obd2 scanner, you’re not alone. Mode 6 is the diagnostic mode that reports on-board monitoring test results — the real measurements your engine computer records while you drive. It shows the actual value, the pass/fail limit, and how close a system is to failing, which ordinary trouble codes often hide.
- What Mode 6 is: The OBD2 mode that reports stored test results and pass/fail limits for emissions monitors.
- Why it helps: It reveals a monitor drifting toward its limit, catching intermittent issues before the check-engine.
- Best workflow: Read and record Mode 6 values before clearing codes; clearing resets test history and.
- Scanner choice: Confirm Mode 6 support and firmware updates before buying; entry-level readers may show raw.
- Safety: Keep sessions short with the ignition on, avoid disconnecting the battery while running, and.
What Is Mode 6 Data on an OBD2 Scanner?
Mode 6 is the J1979 diagnostic mode that requests on-board monitoring test results for specific monitored systems. In plain terms, it is the report behind your emissions monitors. The vehicle computer records test-by-test data during each drive cycle, and Mode 6 lets a scanner display those stored numbers.
The data covers systems like catalyst efficiency, misfire counts, oxygen sensor response, EVAP leak checks, EGR flow, and fuel trim corrections. Each test result sits next to its own minimum or maximum limit, so you can see whether the system passed by a wide margin or by a hair.
Mode 6 vs. Standard Diagnostic Trouble Codes
A diagnostic trouble code is a failure notice. It tells you that a system failed, but it does not always tell you how close the system came to the threshold before failing. Mode 6 adds the measured result and the limit, so you can see the margin — the gap between where the value sits and where the computer sets the failure line.
A pending code indicates a monitor has failed once, but Mode 6 shows how far outside the limit the result landed. If you want a closer look at one-time failures, our guide explaining what a pending code means on an OBD2 scanner walks through when a single failed test sets a hard code and when it does not.
Why Mode 6 Matters for Intermittent Problems and Repair Verification
Intermittent faults are the hardest to trace. A sensor can fail when hot, cold, or under load, and the check-engine light may turn itself off before you reach a shop. Mode 6 often keeps enough history to show which monitor has been drifting toward its limit over recent drive cycles.
Technicians commonly turn to Mode 6 when a code appears and then clears itself. The stored numbers capture how the system performed when the test ran, which makes them a powerful clue for diagnosing a fault that refuses to show up on demand.
How Mode 6 Fits Into the OBD2 Standard

Model-Year and Protocol Coverage: 1996 Gasoline, 2008 Diesel, and CAN
OBD2 became standard on gasoline vehicles sold in the United States for the 1996 model year. Light-duty diesel vehicles were phased in later, with most required to meet OBD2 emission monitoring rules by the 2008 model year, though the exact timing varies by manufacturer and federal classification.
Protocol support is just as important as model year. Many 2008 and newer vehicles communicate over CAN, the Controller Area Network. CAN transfers data faster and more reliably, which is why Mode 6 menus are usually cleaner and more complete on newer vehicles when the scanner supports the protocol.
Where Mode 6 Sits Among Modes 1, 3, 4, and 9
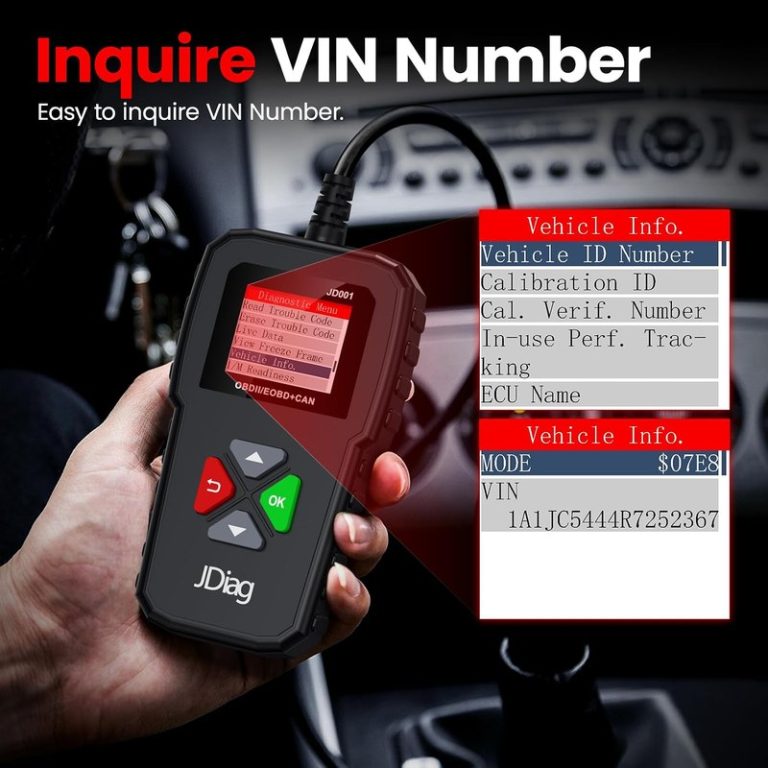
The OBD2 standard defines diagnostic modes for different jobs. Mode 1 reports current live data such as engine speed, coolant temperature, and fuel trims. Mode 3 returns stored and pending trouble codes. Mode 4 clears codes and resets readiness monitors. Mode 9 provides vehicle information like the VIN and calibration identifiers.
Mode 6 is the test-result archive. Mode 1 gives a real-time snapshot, Mode 3 gives failure codes, and Mode 6 gives the numerical history tied to those failures. To practice reading real-time values, our guide on how to find live data on an OBD2 scanner shows where these menus live on common scanner layouts.
What Mode 6 Tests Reveal About Your Vehicle
Common Monitors: Catalyst, Misfire, Oxygen Sensor, EGR, EVAP, and Fuel Trim
The catalyst monitor watches converter efficiency. The misfire monitor detects combustion misses by tracking crankshaft acceleration. The oxygen sensor monitor measures response time and voltage range. The EGR monitor checks exhaust gas recirculation flow. The EVAP monitor looks for fuel-vapor leaks, and fuel trim monitors track long-term air-fuel corrections.
Each monitor records its own test result, which makes Mode 6 especially useful for converter questions. A catalyst result sliding toward its limit can signal trouble before a code appears. If your main concern is the converter, our article explaining whether an OBD2 scanner can detect a bad catalytic converter clarifies how that diagnosis actually works.
Pass/Fail Thresholds and Min/Max Limits Explained
Every Mode 6 test pairs a measured value with a limit. Some tests use a maximum that the value must stay below. Others use a minimum that the value must stay above. Some tests use both and create a window.
While the value stays inside the window, the monitor passes. When it crosses a limit, the computer stores a trouble code. The gap between the current result and its limit — the margin — is the number that predicts an upcoming failure, which is why Mode 6 earns its keep as an early-warning tool.
How to Read Mode 6 Data on Your Scanner
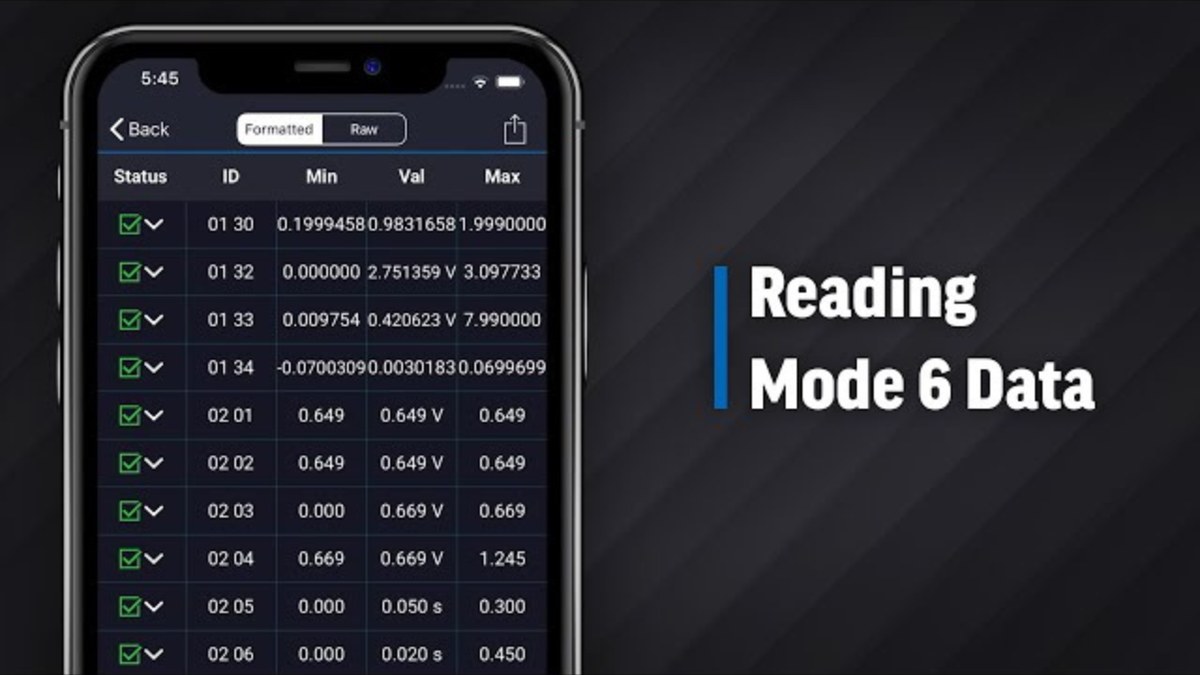
Step-by-Step: Locate the Port, Set the Ignition Mode, and Navigate the Menu
Reading Mode 6 takes about two minutes once you know where the menu lives. The steps below assume the scanner already supports Mode 6 and matches your vehicle’s protocol.
Park on level ground, turn off the engine, and locate the OBD2 port under the driver side dash. Confirm the scanner lists Mode 6 support and matches your vehicle’s protocol.
Plug the scanner in with the engine off, then turn the key to the ON position without starting the engine. Most Mode 6 results are already stored in memory, so the engine does not need to be running to view them.
Open the Mode 6 screen, usually labeled “On-Board Monitoring Test Results.” Write down the test ID, component ID, measured value, and both limits before clearing any codes.
Decoding Test ID, Component ID, Units, and Limit Values
Mode 6 screens use identifiers that differ by manufacturer. The Test ID, or TID, names the test. The Component ID, or CID, names the part or circuit being tested. Most scanners also display a short label like “Catalyst Monitor” alongside those numbers.
Units depend on the test. You may see counts for misfires, volts for oxygen sensors, or pressure values for EVAP checks. Because one screen can mix different units, compare each result only against its own limit — never against a result from a different test ID.
Mode 6 vs. Live Data vs. Readiness Monitors: Which One Should You Use?
Side-by-Side Comparison: What Each Mode Answers and When to Use It
The three tools answer different questions. This table shows when each one earns its keep.
| Option | Best for | Owner consideration | Driver consideration |
|---|---|---|---|
| Mode 6 data | Seeing stored numerical test results and pass/fail margins for emissions monitors | Useful after a repair to verify the fix; some entry-level scanners limit access | No engine running needed if stored results exist; best read before clearing codes |
| Live data | Watching real-time sensor values as the engine runs | Helps diagnose misfires, fuel trims, and sensor drift | Keep eyes on the road; have a passenger watch values or park safely |
| Readiness monitors | Checking whether all emissions monitors have completed a cycle | Required to pass many state OBD2 inspections | Driving a full cycle may be needed to set all monitors |
Which Approach Fits Your Driving Habits and Repair Skills
For everyday drivers, readiness monitors matter most before an emissions inspection. Mode 6 adds detail when a monitor stays incomplete or a code keeps returning. For DIY owners, the Mode 6 margin is a genuinely useful early-warning signal.
Live data is the better choice when you want to watch sensors in real time, such as fuel trims at idle while the engine runs. Mode 6 fits better when you want to learn what happened on the previous drive cycle without needing to recreate the failure.
Choosing an OBD2 Scanner That Supports Mode 6
Entry-Level vs. Professional Scanners: Evaluation Criteria and Ideal User
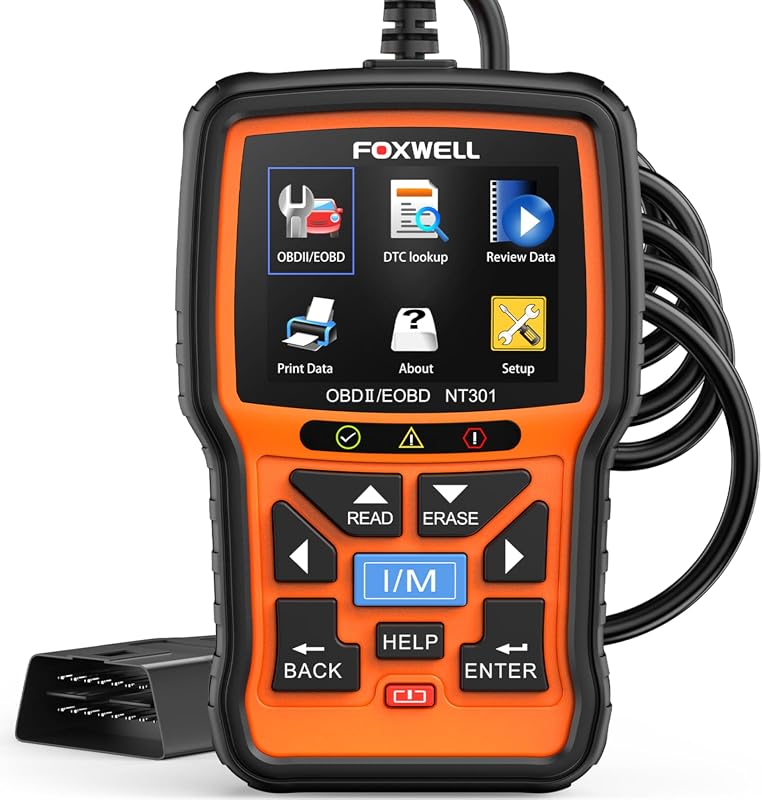
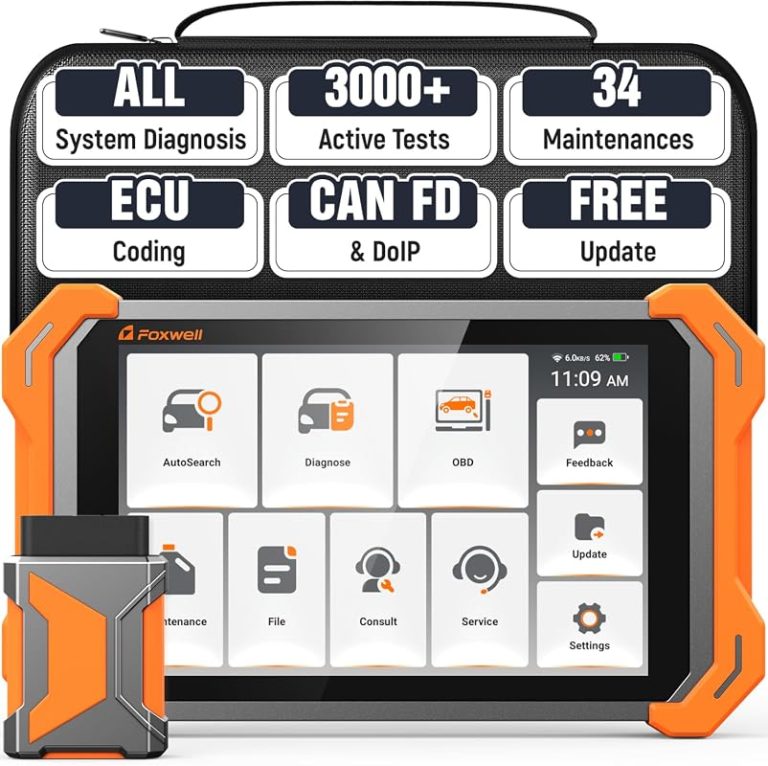
Entry-level code readers often stop at DTCs and readiness status. Mid-range and professional scanners usually include Mode 6, but support varies by model. Confirm that the product page and the included manual list Mode 6 or “On-Board Monitoring Test Results” for your vehicle make before checkout.
If you are new to scanners, start with our overview of what OBD2 scanner features beginners need so you can tell must-have functions from marketing extras.
Check: Verify the scanner’s manual lists Mode 6 support and the correct protocol — typically CAN for 2008 and newer gasoline vehicles — for your make, model, and year. Limitations: Some manufacturer-specific test IDs are not fully decoded by generic tools, and hybrid and diesel coverage varies by scanner.
App Permissions, Firmware Updates, and Data Privacy Before You Buy
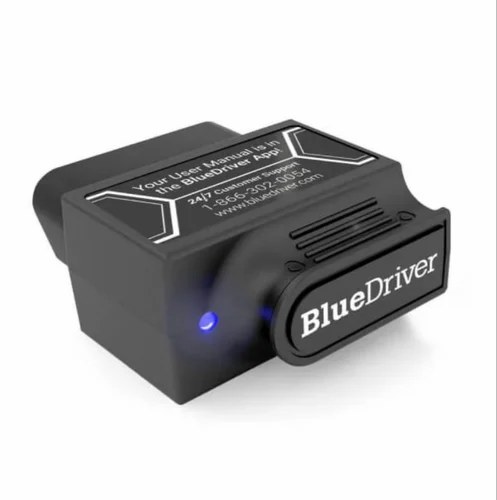
Bluetooth and Wi-Fi scanners rely on smartphone apps, and apps request permissions for a reason. A diagnostic app should not need access to contacts, messages, or your photo library. Its privacy policy should explain how VIN data, codes, and location data are stored and shared.
Firmware updates matter too. Mode 6 definitions shift as new models arrive, so a scanner that never receives updates may mislabel newer test IDs or ignore them entirely. Pick a tool from a brand with a clear update and support policy.
Limitations, Battery Safety, and When to Call a Professional
Reset Limitations, Code Limits, and Emissions Readiness Gaps
Clearing codes through Mode 4 wipes the code history, the Mode 6 test results, and the readiness monitors. Always record Mode 6 values before clearing anything. If you clear codes repeatedly, the monitors may never complete, leaving the vehicle stuck with an incomplete readiness status.
Mode 6 is not a replacement for a professional scan tool on every vehicle. Some hybrid and late-model vehicles store manufacturer-specific test IDs that generic scanners cannot decode. If a result is confusing or a monitor never completes, a professional diagnostic scan is usually the faster path.
Battery and Electrical Cautions: Voltage, Connection Order, and Hybrid/EV Risks
Plugging a scanner into the OBD2 port is low risk when you follow the instructions. Do not disconnect the battery while the engine is running, and do not probe connector pins with paperclips or meter leads unless you follow a documented procedure. A weak battery can also interrupt communication and produce confusing results.
Legal Considerations and Next Steps for CarValleyNJ Readers
State Emissions Testing Rules and How Mode 6 Data Fits In
Emissions inspection rules vary by state and, in some cases, by county. Many stations only plug in and read readiness status and codes, while others combine that reading with a tailpipe test. Mode 6 supports your pre-check but does not control the station’s pass-fail verdict.
Your Next Steps: Pull Mode 6 Data, Compare Limits, and Decide on Repairs
Start by pulling Mode 6 data before you clear anything. Write down the test IDs, measured values, and limits for every monitor listed. Then look for any result sitting close to its limit — that margin is your early warning.
Compare that finding with recent repairs. A fuel trim test near its maximum may point to a vacuum leak or a dirty mass airflow sensor rather than the part the code names. When two monitors share one root cause, fix the shared cause first. If you feel out of your depth, bring the recorded Mode 6 printout to a professional for a second opinion.
- Best for: DIY owners who want to see real test numbers, verify a recent repair, or track a monitor that seems close to failing.
- Think twice if: Your scanner does not decode Mode 6 values, or your vehicle uses manufacturer-specific test IDs that a generic tool cannot read.
- Next step: Plug in the scanner with the ignition on, record the Mode 6 values and limits, and compare them before clearing any codes.
Frequently Asked Questions
No. Mode 6 stores test results from previous drive cycles, so you usually read them with the engine off and the ignition in the ON position. Some tests may refresh during a drive cycle, but stored results are available without starting the engine.
Entry-level code readers often skip Mode 6 or only show raw numeric IDs without definitions. Check the scanner’s manual or app for Mode 06 or On-Board Monitoring Test Results. If the tool lacks that menu, you may need a mid-range or professional scanner.
Reading data for a few minutes is usually fine, but many vehicles keep electrical systems active in the ON position. Keep the session short, turn the ignition off when finished, and start the engine afterward if you have any doubt about battery charge.
Mode 6 shows which monitors have completed and how close results are to their limits, which can reveal why a readiness monitor will not set. The official pass-fail decision comes from the inspection station’s scan, so use Mode 6 as a pre-check rather than proof of passing. Rules vary by state.
No. Live data, or Mode 1, shows real-time sensor values as the engine runs. Mode 6 shows stored numerical test results and pass/fail limits from recent monitor runs. They are complementary tools, and neither replaces the other.
Yes. Clearing diagnostic trouble codes also resets monitor test results and readiness status. Record Mode 6 values and limits before clearing anything, and complete the required drive cycle before an emissions retest.