Can an OBD2 Scanner Tell Which Oxygen Sensor Is Bad? Read Live Data
Yes — an OBD2 scanner with live data can identify a bad oxygen sensor by showing voltage, switching, and fuel trim readings. The trouble code alone names the circuit, but live data confirms which sensor is actually failing.
If you are wondering can an obd2 scanner tell which oxygen sensor is bad, the short answer is yes — but only when you use live data, not just the stored trouble code. A code points to a circuit and location. Live data shows what the sensor is actually doing while the engine runs.
This guide explains how to read O2 codes, use live data to confirm the faulty sensor, and avoid the common mistakes that lead to replacing the wrong part.
- Code vs. confirmation: Codes like P0135 point to a sensor location; live data confirms the actual fault.
- Compare both banks: Watch Bank 1 and Bank 2 voltage side by side to spot a lazy.
- Watch fuel trims: High STFT or LTFT on one bank points to that bank’s sensor or an.
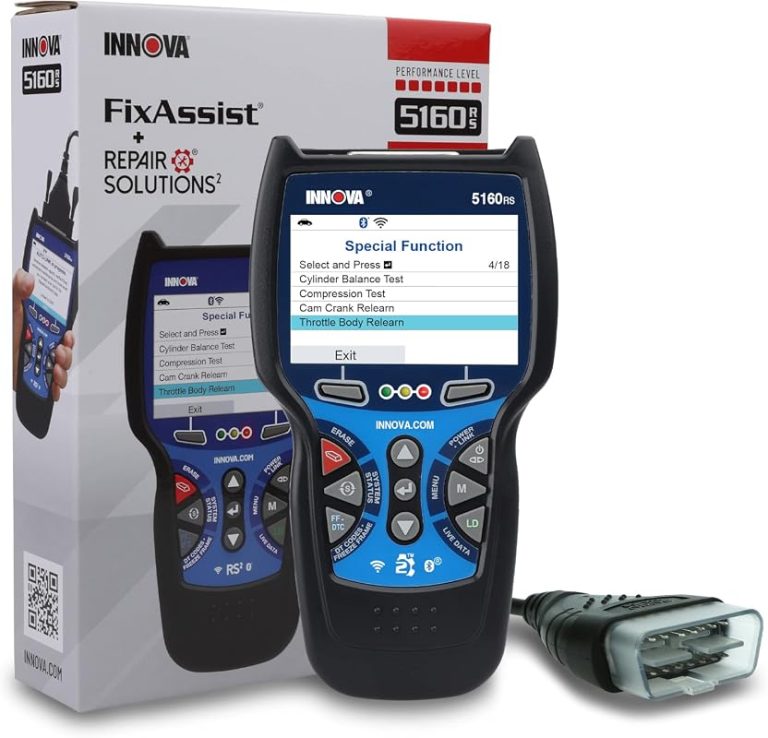
- Scanner choice matters: You need live-data graphs, not just a basic code reader.
- Inspect before buying: Check wiring, fuses, and exhaust leaks before ordering a replacement.
The Short Answer: Yes, an OBD2 Scanner Can Identify a Bad Oxygen Sensor — But Only With Live Data
What the Trouble Code Actually Confirms
A diagnostic trouble code like P0135 or P0141 tells you the engine control module detected a problem in a specific oxygen sensor circuit. It does not always tell you the sensor itself is dead.
The code names a location — bank, sensor position, and circuit type. The actual fault could be the sensor, its wiring, a blown fuse, or an engine condition that makes the sensor read out of range.
Why Live Data, Not the Code Alone, Points to the Exact Sensor
Live data is the stream of real-time sensor readings your scanner displays while the engine runs. With it, you can watch voltage, switching speed, and fuel trim values for each oxygen sensor.
Compare the suspect sensor against a known-good sensor on the same vehicle. If Bank 1 Sensor 1 is flat and lazy while Bank 2 Sensor 1 switches normally, you have strong evidence the Bank 1 sensor is failing.
Decoding O2 Sensor Codes: Bank, Sensor Position, and Circuit Limits
Reading P0130–P0175: How the Code Structure Names the Sensor
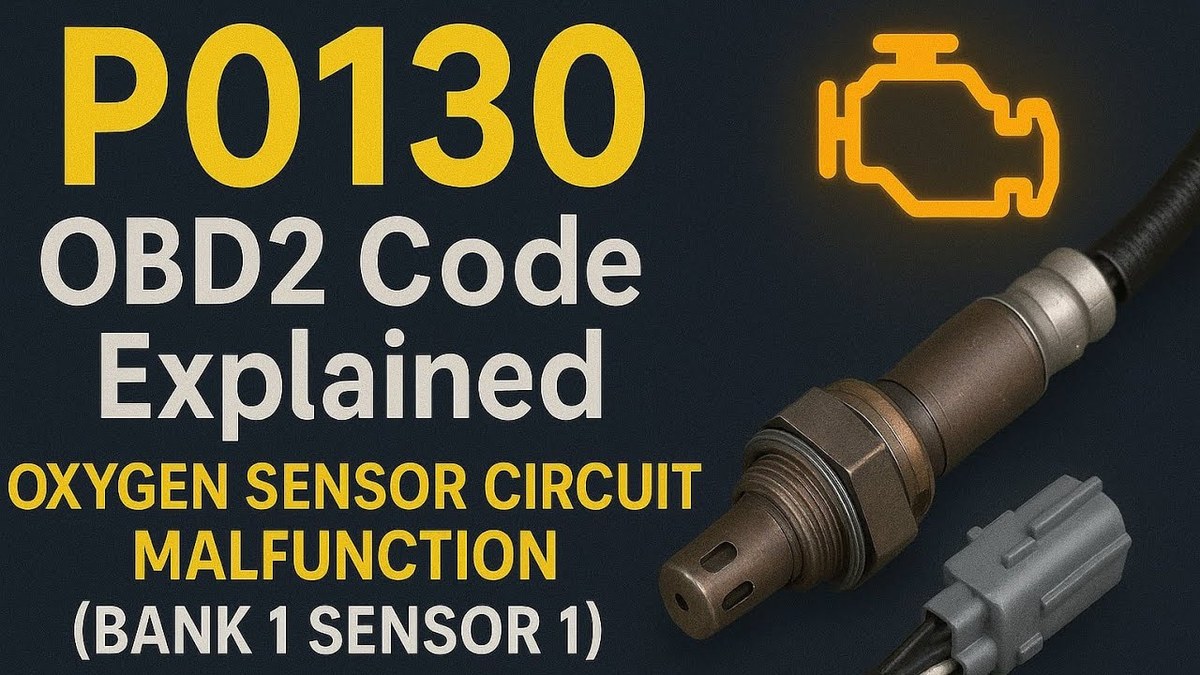
Oxygen sensor codes follow a standard naming pattern. P0130 through P0135 cover Bank 1 Sensor 1. P0136 through P0140 cover Bank 1 Sensor 2. P0150 through P0155 cover Bank 2 Sensor 1, and P0156 through P0160 cover Bank 2 Sensor 2.
The fifth digit in the code identifies the fault type. A “1” often points to a heater circuit issue, while a “0” points to a sensor range or performance problem.
Bank 1 is the side of the engine containing cylinder 1. Sensor 1 sits upstream of the catalytic converter; Sensor 2 sits downstream. The code structure tells you exactly which position to inspect.
Why “Bank 1 Sensor 1” Doesn’t Automatically Mean the Sensor Is Faulty
A code stored for Bank 1 Sensor 1 can be triggered by conditions outside the sensor itself. A vacuum leak, exhaust leak, weak fuel pressure, or a dirty mass airflow sensor can make the oxygen sensor report a lean or rich condition.
That is why the code is a starting point, not a final diagnosis. The sensor may be working correctly and simply reporting a problem the engine actually has.
Using Live O2 Data: Voltage, Switching Frequency, and Fuel Trim
Healthy vs. Lazy Sensor Waveforms on the Scanner Screen
A healthy upstream oxygen sensor switches rapidly between about 0.1 volts and 0.9 volts. At steady cruise, it should cross the midpoint many times per minute.
A failing sensor often looks “lazy.” It may stay stuck near one voltage, switch slowly, or take too long to respond when you change engine speed.
Many mid-range scanners display this as a live graph. If you want to see exactly how to pull up this screen, read our guide on how to find live data on an OBD2 scanner.
STFT and LTFT: How Fuel Trim Confirms a Failing Sensor
Short-term fuel trim (STFT) and long-term fuel trim (LTFT) show how much the engine computer is adjusting fuel to keep the air-fuel mixture near ideal.
Small corrections near zero are normal. Large positive corrections mean the computer is adding fuel because it sees a lean condition. Large negative corrections mean it is removing fuel because it sees a rich condition.
If one bank shows a much higher fuel trim than the other, the problem is usually on that bank. That could be a failing oxygen sensor, a vacuum leak, or a fuel delivery issue.
Scanner Compatibility and Setup: Port Location, Ignition Mode, and Protocols
OBD2 Port Location and Model-Year Coverage (1996 and Newer)
In the United States, OBD2 is required on most light-duty vehicles from the 1996 model year onward. The diagnostic port is usually under the dashboard on the driver’s side, near the steering column or center console.
Some vehicles hide the port behind a small cover or fuse panel door. If you cannot find it, check the owner’s manual before assuming the scanner is incompatible.
Check: Confirm your vehicle is OBD2-compliant, locate the port, and verify the scanner supports your vehicle’s protocol. Limitations: Some entry-level scanners read generic powertrain codes only and may not show manufacturer-specific oxygen sensor data.
Ignition Mode: Key-On vs. Engine Running for Accurate Readings
Reading stored codes works with the key in the “on” position and the engine off. Live oxygen sensor data requires the engine running and warmed up to operating temperature.
Cold sensors do not switch normally. Give the engine a few minutes to reach closed-loop operation before judging voltage or switching behavior. If you are unsure about the correct setup, see whether you need the engine running to use an OBD2 scanner.
Protocol Compatibility: CAN vs. Older ISO and PWM Systems
Modern vehicles use the CAN (Controller Area Network) protocol, which has been mandatory on new US vehicles since 2008. Older vehicles may use ISO 9141-2, ISO 14230-4, SAE J1850 PWM, or SAE J1850 VPW.
Most current scanners support all of these protocols. Very old or very cheap readers may not. If the scanner fails to connect, check the protocol support list before blaming the vehicle.
Emissions Readiness, Reset Limitations, and App Permissions
Clearing Codes vs. Readiness Monitors: What a Reset Can and Can’t Do
Clearing a code with a scanner also resets the emissions readiness monitors. After a reset, the vehicle must complete a new drive cycle before those monitors report “ready.”
Some US states require all monitors to be ready before a vehicle passes an emissions test. Clearing codes right before an inspection can actually cause a failure if the monitors have not finished running. Understanding Mode 6 data on an OBD2 scanner can help you see how individual monitors are performing.
App Permissions, Firmware Updates, and Data Privacy on Smartphone Scanners
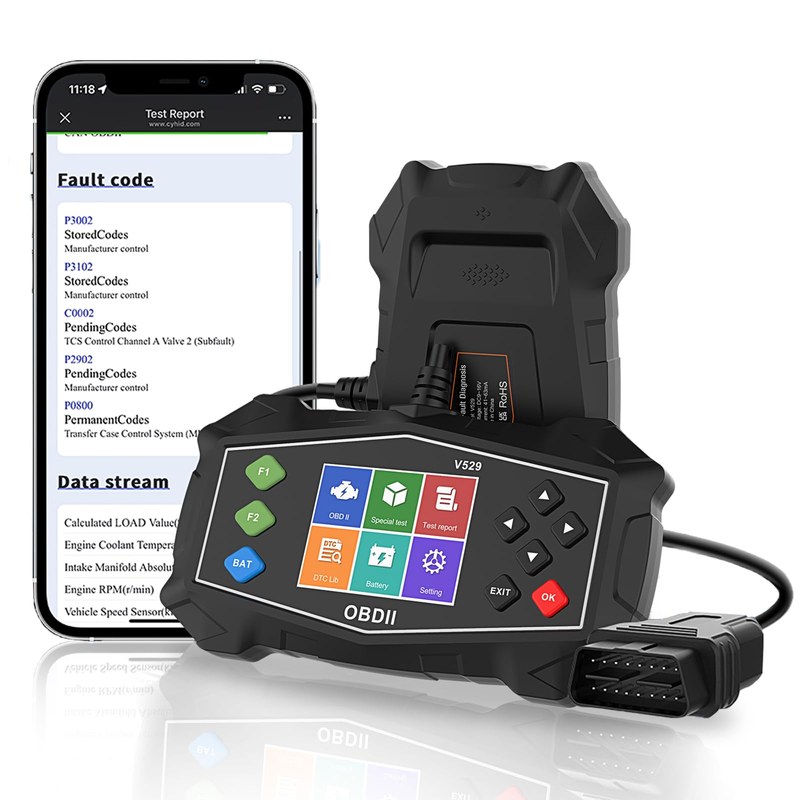
Smartphone scanners connect through Bluetooth or Wi-Fi and rely on a companion app. Many apps request access to location, storage, or account features that have nothing to do with diagnostics.
Before installing an app, review the permissions it asks for and check the developer’s privacy policy. Some apps upload VIN and diagnostic data to cloud servers.
When the Scanner Points the Wrong Way: Wiring, Exhaust Leaks, and Vacuum Leaks
Circuit Faults and Heater Failures That Mimic Sensor Failure
Heater circuit codes often come from a blown fuse, corroded connector, or broken wire rather than the sensor element itself. The heater is an electrical circuit, and any break in that circuit sets the same code.
Before replacing a sensor for a heater fault, check the fuse, inspect the connector for corrosion, and test the wiring continuity. A multimeter is often more useful than a scanner for this step.
Exhaust Leaks and Upstream Contamination: Conditions That Skew O2 Readings
An exhaust leak ahead of the sensor lets outside air enter the exhaust stream. The sensor then reads lean even when the engine is running normally.
Oil or coolant burning in the engine can also contaminate the sensor and permanently damage its sensing element. Replacing the sensor without fixing the leak or contamination will likely result in another failure.
What a Professional Diagnostic Adds — and When to Stop DIY
Lab Scopes, Smoke Testing, and Pinpoint Tests Beyond the Scanner
A professional diagnostic goes beyond generic live data. A lab scope captures the oxygen sensor waveform in detail, showing response time and amplitude that a basic scanner may miss.
Smoke testing can find vacuum and exhaust leaks that skew sensor readings. Pinpoint tests check wiring resistance, grounds, and signal continuity at the connector.
If you have already replaced a sensor and the code returned, or if live data looks normal but the code persists, a professional diagnosis is the next step.
Cost Comparison: DIY Scanner vs. Professional Diagnosis and Replacement
A basic code reader costs far less than a professional diagnostic visit, but it also provides less information. Replacing the wrong sensor wastes the part cost plus your time.
A professional shop charges for diagnostic labor, which varies by location and vehicle. That cost can be worth it when the fault is intermittent, wiring-related, or involves multiple codes.
Consider this trade-off: a mid-range scanner with live data costs more upfront but can prevent one or two wrong-part purchases.
Choosing the Right OBD2 Scanner for O2 Sensor Diagnosis
Entry-Level Code Readers: Enough for the Code, Not Enough for Live Data
Entry-level code readers display stored and pending codes. Most do not show live oxygen sensor data or fuel trims.
These tools are fine for reading a code and clearing it, but they cannot confirm which sensor is bad. For this diagnostic job, you need at least a scanner with live data.
Mid-Range Scanners With Real-Time Graphs and Fuel Trim
Mid-range scanners show live voltage, switching graphs, and fuel trim values for all oxygen sensors. Many also display readiness status and manufacturer-specific data.
This is the practical sweet spot for DIY owners who want to confirm a failing sensor before buying a replacement part.
Professional-Grade Tools: When the Extra Investment Makes Sense
Professional-grade scanners add bidirectional controls, advanced graphing, and access to manufacturer-specific systems. Some can command the oxygen sensor heater or force the fuel system into specific modes.
These tools are overkill for a single sensor replacement. They make sense for owners of multiple vehicles, serious DIY mechanics, or anyone working on European or hybrid vehicles with proprietary systems.
| Scanner type | Best for | Owner consideration | Driver consideration |
|---|---|---|---|
| Entry-level code reader | Reading and clearing codes | Lowest cost, no live data | Cannot confirm which O2 sensor is bad |
| Mid-range live-data scanner | Confirming O2 sensor faults at home | Higher cost, includes graphs and fuel trims | Reduces wrong-part replacements |
| Professional-grade tool | Advanced diagnostics and multiple vehicles | Highest cost, steeper learning curve | Bidirectional controls and lab-style waveforms |
Next Steps: Replacing the Sensor, Installation Cautions, and Ownership Cost
Replacement Basics: Disconnecting the Battery, Wiring, and Torque Specs
If live data confirms the sensor is bad, replacement usually involves unplugging the wiring connector, removing the old sensor, and threading in the new one.
Disconnect the battery before working on the sensor wiring. Use the correct oxygen sensor socket to avoid damaging the hex body. Follow the vehicle manufacturer’s torque specification — never guess.
Some sensors come with anti-seize compound pre-applied; others require none. Check the sensor packaging and the vehicle manual before installation.
Preventative Maintenance and Total Ownership Cost of O2 Sensor Care
Oxygen sensors wear out over time. Their lifespan depends on driving habits, fuel quality, and engine condition. There is no universal replacement interval that fits every vehicle.
Fix oil leaks, coolant leaks, and misfires promptly. These conditions can contaminate a sensor and shorten its life.
The total ownership cost includes the part, any tools you need, and your time. If you skip the diagnosis and replace parts blindly, the cost can double quickly.
- Record the code, freeze-frame data, and live fuel trims before clearing anything
- Compare the suspect sensor against a known-good sensor on the same vehicle
- Inspect wiring, fuses, and exhaust leaks before ordering a replacement
- Replace an oxygen sensor based on a code alone
- Clear codes right before an emissions test if readiness monitors are incomplete
- Work near a hot exhaust system or running engine without proper precautions
- Best for: DIY owners who want to confirm a failing oxygen sensor with live data before spending money on a replacement part.
- Think twice if: You only own an entry-level code reader with no live data, or the fault involves wiring, intermittent issues, or multiple codes.
- Next step: Verify your scanner supports live data and CAN protocols, then compare Bank 1 and Bank 2 sensor readings on a warm engine.
Frequently Asked Questions
Yes, when the scanner can display live data. The trouble code names the sensor location, but live voltage, switching, and fuel trim readings confirm whether that sensor is actually failing.
Yes. Stored codes can be read with the key on and the engine off, but oxygen sensor live data requires the engine running and warmed up to closed-loop operation.
Bank 1 is the engine bank containing cylinder 1. Sensor 1 sits upstream of the catalytic converter and monitors the air-fuel mixture; Sensor 2 sits downstream and monitors converter efficiency.
The code may be caused by something other than the sensor, such as wiring, a blown fuse, an exhaust leak, or a vacuum leak. Replacing the part without fixing the root cause will not clear the code permanently.
Not necessarily. Clearing codes also resets the readiness monitors, and many states require those monitors to be complete before a vehicle can pass. A fresh reset right before an inspection can cause a failure.
A healthy upstream sensor switches between about 0.1 and 0.9 volts. A sensor stuck at one voltage, switching slowly, or reading flat is often failing.