Why Will My Portable Jump Starter Not Charge? Troubleshooting Tips
Your jump starter may not charge because of a bad cable, a locked BMS, extreme temperatures, or a damaged port. Work through the power source, reset, and temperature checks before replacing the unit.
If you’ve been asking why will my portable jump starter not charge, the answer usually comes down to a few fixable causes: a weak charging cable, a locked battery management system, temperature shutdown, or simply an old internal battery. This guide walks through the checks in order, so you can get back on the road without guessing.
- Power source first: Use a wall adapter that can supply enough current; a weak USB port can.
- BMS reset: A deeply discharged lithium unit may need a power-button reset to wake up.
- Temperature matters: Charge at room temperature; cold or hot storage can block charging.
- Inspect for damage: Bent pins, damaged cables, and swollen cases require replacement.
- Maintain monthly: Check the battery indicatorand top off every few months to avoid deep discharge.
Common Reasons Your Portable Jump Starter Won’t Charge
Portable jump starters are small lithium-ion power banks with jumper cables built in. They fail to charge for many reasons, but most fall into these groups:
- A bad charging cable or adapter
- A dead internal battery that won’t accept power
- A BMS safety lockout after a deep discharge or reverse polarity
- Extreme temperatures blocking charging
- A damaged input port or swollen cells
Before buying a new unit, work through the easy checks first. Many jump starters can be revived with a different cable, a reset, or a warmer room.
Check the Power Source and Charging Cable First
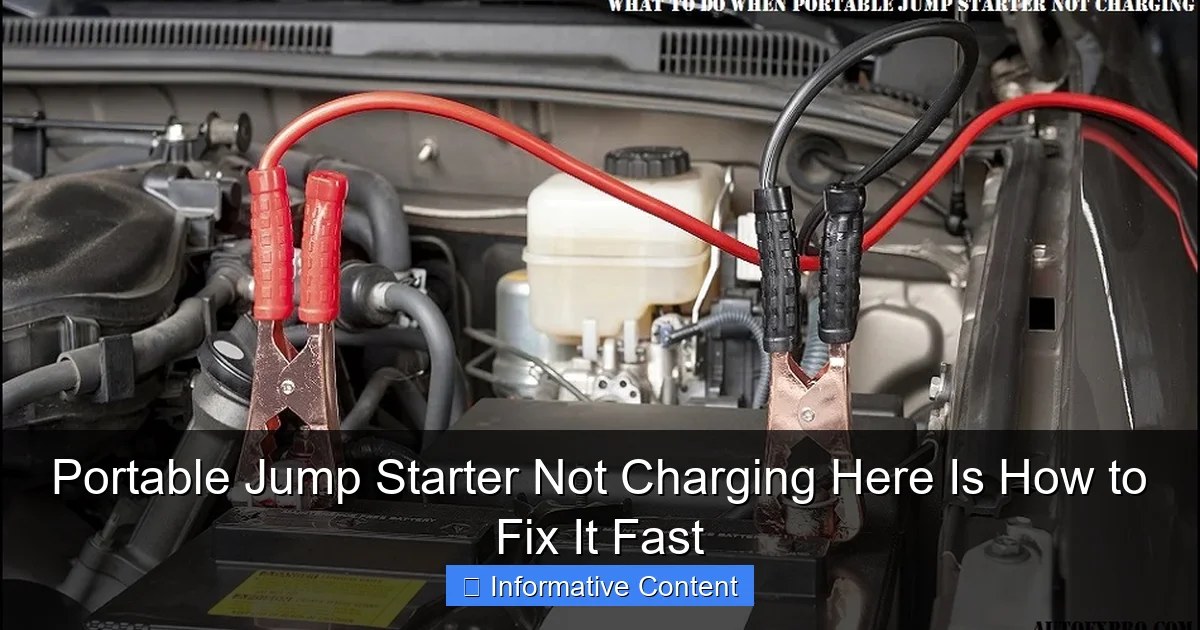
Start with the easiest fix:the power source and cable. A jump starter can look broken when it is simply not getting enough power.
Wall Outlet vs USB Port: Which One Should You Use?
Use a wall charger, not a computer USB port or a car USB port. Most jump starters need a steady power supply. Laptop and car USB ports often deliver less current, which can make charging painfully slow or stop entirely.
Plug the included cable into a wall adapter and let it charge untouched for several hours. If the indicator lights come on, the problem was the power source.
Cable and Adapter Compatibility: Amperage Matters
Check the adapter’s output rating, usually printed on the block. Amperage matters. A weak adapter may keep the unit stuck at a low percentage or cause it to shut off. If your cable is damaged, try another cable that matches your model’s input port.
Also check whether the cable is charge-only versus data. Some USB cables lack power pins and won’t charge anything. Try a known-good cable from another device before blaming the jump starter.
Understand Your Jump Starter’s Battery Chemistry and Charging Behavior
Jump starters contain different batteries, and that changes how they charge. Knowing which type you have helps you avoid unnecessary replacements.
Lithium-Ion vs Lead-Acid Jump Starters
Most modern jump starters use lithium-ion or lithium-polymer cells. They are lightweight, hold a charge for months, and charge quickly. Older or heavy-duty models may use sealed lead-acid batteries. Those are heavier and need different charging care.
Lithium units have a battery management system (BMS) that protects the cells. The BMS can shut down charging if it detects low voltage, high temperature, or a wiring fault. That safety feature is why a seemingly fine unit may refuse to charge.
State of Charge vs Battery Health: Why It Won’t Take a Charge
A battery can be at zero percent but still healthy. If you drain a lithium jump starter completely and leave it for months, the BMS may enter sleep mode. In that state, the unit may not respond to a normal charger at all.
Battery health is different. If the cells have aged, swollen, or lost capacity, no amount of charging will bring them back. If your unit is several years old and won’t hold a charge, internal wear is likely the cause. For more on normal charging behavior, see our guide on how long to charge a portable jump starter.
Inspect the Input Port, Cable, and Case for Damage

A damaged input port can stop charging even when everything else works. Look closely at the USB port on the jump starter. Bent pins, lint, dust, or broken plastic can block the connection.
Gently blow out debris or use a wooden toothpick to clean the port. Do not use metal tools. Check the cable’s connector for bent or blackened pins. Also inspect the case for cracks, especially near the port. A cracked case can let moisture inside and short the circuit.
Reset the Internal Battery Management System (BMS)
If your jump starter sat dead for a long time, its BMS may have locked the battery to protect it. A reset can wake it up. This is a common fix for units that show no lights and won’t charge.
How to Perform a Reset on Your Jump Starter
Reset steps vary by brand and model, so check your manual first. The general idea is to disconnect any load, plug the unit into a charger, and hold the power button for the time your manual specifies.
Find the exact reset procedure for your model. Do not guess if you are unsure.
Use the correct cable and wall adapter. Leave it connected during the reset.
Press and hold for several seconds as your manual instructs. Watch for indicator lights.
After the reset, leave the unit charging for several hours before testing.
If your unit beeps or flashes error codes during charging,that points to a different issue. Our guide on why a jump starter beeps and won’t start a car covers those warning signals.
Temperature and Storage Conditions That Block Charging
Lithium batteries are picky about temperature. If your jump starteris too cold or too hot, it will refuse to charge. This is a safety feature, not a malfunction.
Optimal Charging Temperatures for Lithium Batteries
Most lithium-ion jump starters charge best at room temperature. Exact ranges vary by model. Charging in freezing or very hot conditions can damage cells, so the BMS may block power until the unit returns to a safe range.
If you keep your jump starterin a cold garage over winter, move it insideand let it reach room temperature before charging. Do not speed this up with a heater or hair dryer.
Why Cold or Hot Storage Prevents Charging
Cold storage makes the internal battery sluggish. The voltage reads low, and the BMS may think the battery is faulty. Hot storage, like a car dashboardin summer, can degrade cellsand trigger a high-temperature lockout.
Store your jump startersomewhere temperature-stable, such as a glovebox, trunk organizer, or indoor shelf. For more on how long these units hold power between charges, check our guide on how long portable jump starters hold a charge.
When to Replace Your Jump Starter vs When to Repair
Some charging problems are fixable at home. Others mean it is time for a new unit. Knowing the difference can save you time and prevent a dangerous failure.
Signs of Battery Failure: Swelling, Heat, and Odors
Stop using a jump starterthat shows any of these signs:
- A swollen or bulging case
- Heat coming from the unit while charging or sitting idle
- A chemical, sweet, or rotten-egg smell
- Cracked or melted plastic around the battery
A swollen lithium battery can catch fire. Repair kits for internal cells are rarely worth the risk. If your unit shows any of these signs, replace it.
Warranty and Support Options: What to Expect
Before replacing, check your warranty. Warranty terms vary by brand and model. If yours is within the period, contactthe manufacturer’s support team. They may send a replacement or repair unit.
Keep your receiptand register the product when possible. Warranty coverage usually excludes physical damage, water damage, and normal battery wear. If your unit is out of warrantyand needs a new internal battery, replacement is usually cheaperand safer than a DIY repair.
Proper Charging Maintenance to Avoid Future Problems
A jump starteris an emergency tool. If you only charge it once a year, it may be dead when you need it. Regular maintenance keeps it ready.
How Often Should You Top Off Your Jump Starter?
Check your manual for a suggested charging interval. A common habit is to top off every few months. Set a reminder on your phone when you change your smoke alarm batteries or rotate your emergency kit.
If your unit has a battery indicator, check it monthly. When it drops low, charge it back to full. This avoids the deep-discharge state that can trigger a BMS lockout.
Best Storage Practices for Long Battery Life
Store your jump starterat a partial charge if you won’t use it for months. Full chargeand zero charge both stress lithium cells over time. Keep it in a cool, dry place away from direct sunlight.
Avoid leaving it in a hot car trunkfor weeks in summer. Heat is the biggest enemy of lithium batteries. If you must keep it in your vehicle, choose an insulated bag or a shaded compartment.
Post-Use Inspection and Storage Checks
After each jump start, inspect the clamps, cables, and case. Wipe off any battery acid or dirt. Make sure the clampsare not touching each other when stored. Then recharge the unit to full before putting it away.
If you used the jump starterto start a vehicle, the unit may be low even if it still shows some bars. Give it a full charge after every use. This keeps it ready for the next emergency.
Safe Jump Starting Practices and Connection Order
Once your jump startercharges again, use it safely. Wrong connections can damage the unit or your vehicle. Follow the order in your manualand the steps below.
Choosing a Safe Location and Staying Visible
If you are on the roadside, pull as far off the road as possible. Turn on your hazard lights. Set up flares or reflective triangles if you have them, especially at night or in bad weather. Keep everyone away from traffic while you work.
Make sure the jump starterand cables are dry. Do not use it in heavy rain or standing water. If the batteryin the vehicle is cracked, leaking, or frozen, do not attempt a jump start. Call a professional instead.
Correct Connection Order for a Gasoline Vehicle
For a typical 12-volt gasoline vehicle, follow this general order, but always check your vehicle manual first:
- Turn off the vehicle’s ignition and all accessories.
- Connect the red clamp to the positive (+) terminal of the dead battery.
- Connect the black clamp to the negative (-) terminal or an unpainted engine ground, depending on what your manual says.
- Turn on the jump starterand attempt to startthe vehicle.
- After the vehicle starts, remove the clampsin reverse order.
Many jump startershave reverse polarity protection, but mistakes still happen. If your unit gives a reverse polarity warning, stop and check the connections. Our guide on why a jump starter says reverse polarity explains what to do next.
Hybridand EV Cautions: When Not to Use a Jump Starter
Hybridsand electric vehicles have high-voltage battery packs. Jump starting them is not the same as a gasoline car. Some EVs have a 12-volt batterythat can be jumped, but others require special procedures or a tow to a service center.
Never open high-voltage battery coversor connect a jump starterto the orange high-voltage cables. Check your owner’s manualfor the correct jump startprocedure. If you are unsure, call roadside assistance or the dealership.
- Confirm the jump starteris fully charged before attempting a jump start
- Connect positive first, then negative to the terminal or ground your manual specifies
- Keep the clampsfrom touching each other during setup
- Use a jump starteron a damaged, leaking, or frozen battery
- Letthe clamps touch each other while connected
- Ignore a reverse polarity or over-temperature warning
- Best for: A portable jump starterthat charges reliably after you work through the power source, cable, reset, and temperature checks.
- Think twice if: The case is swollen, hot, or smells chemical; replace it instead of trying to revive it.
- Next step: Check your jump starter’s manual for the exact charging input, reset procedure, and connection order before your next emergency.
Frequently Asked Questions
Sometimes yes. A deeply discharged lithium unit may enter a sleep mode. Try a BMS resetand a slow charge from a wall adapter, but if it still won’t charge after several hours, the internal battery may be damaged.
Charging time varies by model, battery size, and charger output. Many units take anywhere from a couple of hours to overnight. Check your manual for the expected timeand use the correct wall adapter.
A red light usually means the battery is charging or the unit is in a protection state. If it stays red for many hours without changing, check the cable, port, and temperature. A flashing red light may indicate an error code from your manual.
Only if your manual says it is safe. Fast chargers can push too much current for some jump starter batteries. When in doubt, use the charger that came with the unit or a standard USB wall adapter.
Signs include swelling, heat, a chemical smell, or a case that no longer closes properly. If the unit won’t hold a charge even after a resetand proper charging, the battery likely needs replacement.
Most modern units have charging protection, but it is still smarter to unplug once full. Leaving it plugged in for days can stress the batteryand increase risk. Follow your manual’s charging instructions.