What Should Be in a Roadside Emergency Kit: Key Checks and Safe Use
A good roadside emergency kit should cover visibility, power, tire inflation, and basic safety for the most common breakdowns. Choose gear that fits your vehicle, climate, and driving habits, then inspect it often so it still works when you need it.
What should be in a roadside emergency kit depends on your vehicle, your route, and how long you may need to wait for help. At minimum, every driver should carry visibility gear, a way to call or power up, a tire inflator or repair aid, and basic tools for a safe stop.
- Safety first: Triangles, a vest, and a flashlight matter before any repair tool.
- Match the vehicle: Check 12V, hybrid, EV, tire, and OBD2 compatibility before buying.
- Carry the basics: Jump tools, a gauge, an inflator, gloves, water, and a charger cover most roadside.
- Know the limits: Sealants, code clearing, and quick fixes do not replace a repair shop when damage.
- Maintain the kit: Replace expired, damaged, or missing items on a regular schedule.
What Should Be in a Roadside Emergency Kit? The Essential Items Every Driver Should Carry
A useful roadside kit is not just a box of gadgets. It is a set of items that help you stay visible, communicate, diagnose a simple problem, and get the car to a safer place without making the situation worse.
Quick answer: the core kit for breakdowns, flat tires, dead batteries, and visibility problems
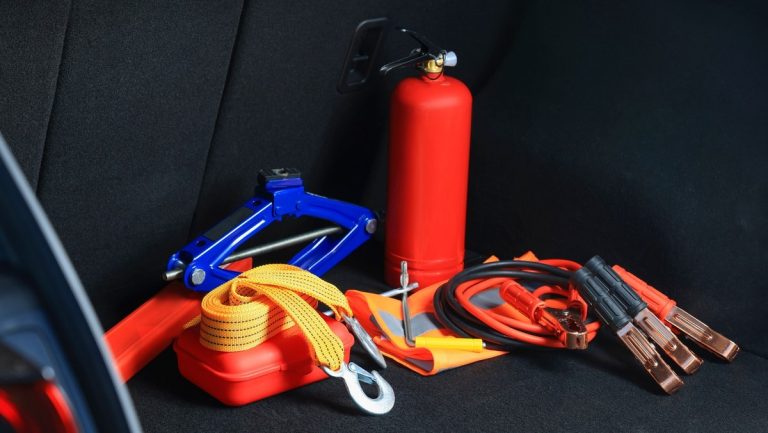
The core kit should include reflective triangles or flares, a high-visibility vest, a flashlight with spare batteries or charging cable, jumper cables or a jump starter, a tire pressure gauge, a portable inflator, gloves, a basic first-aid kit, and a phone charger. If you drive far from town or in severe weather, add water, a blanket, a scraper, a small shovel, and a compact tool kit.
How this guide fits 2026 driving needs in the U.S.
Modern vehicles bring new needs. Many cars now rely on TPMS, start-stop batteries, hybrid systems, app-connected tools, and tighter electronic controls, so a roadside kit should help you respond safely without guessing.
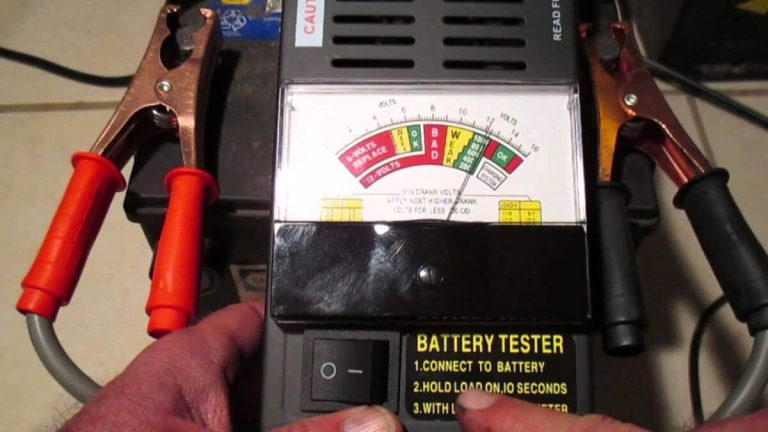
That is especially true if you want a kit that works for a commuter sedan, family SUV, work truck, or newer vehicle with sensitive electronics. For a deeper battery-health check after a no-start event, see our guide on testing a battery with a multimeter and our overview of using a battery tester correctly.
How to Choose the Right Kit for Your Vehicle and Driving Conditions
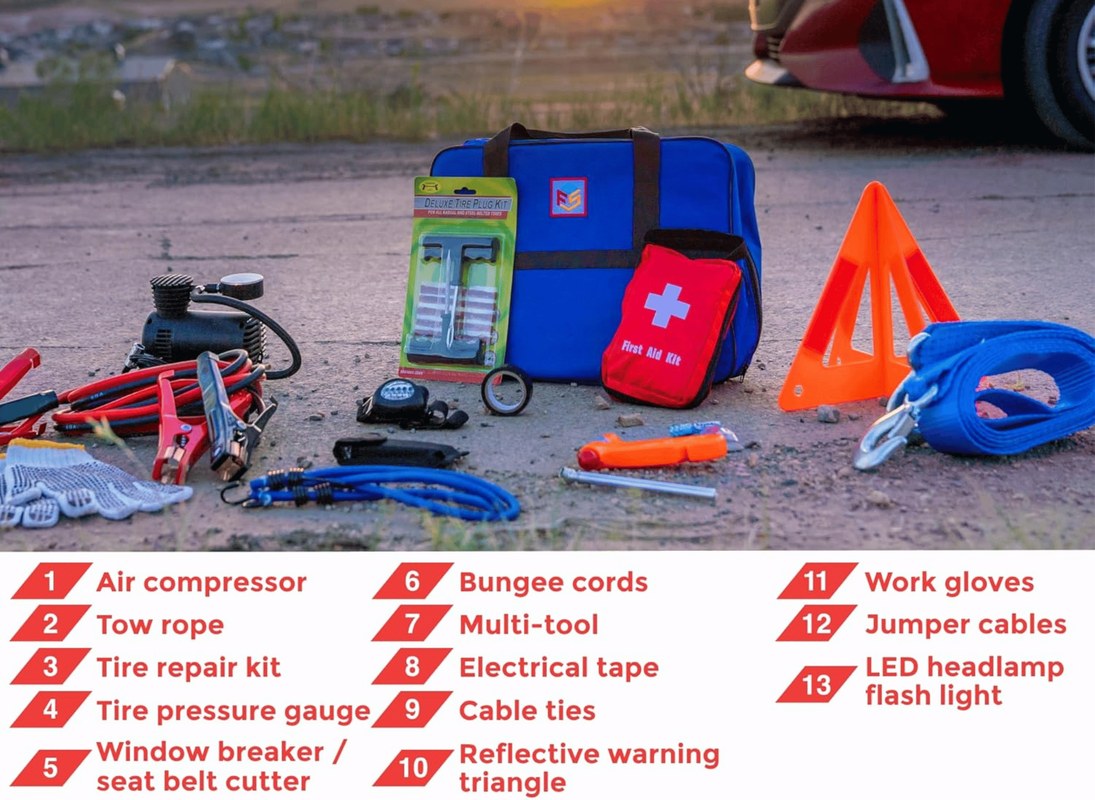
The right kit is the one you can actually use under stress. Size, climate, vehicle type, and how far you usually drive all matter more than a long checklist of accessories you may never touch.
Daily commuter vs. long-distance traveler vs. family vehicle vs. work truck
Daily commuters usually need a compact kit that covers flats, dead batteries, and basic visibility. Long-distance travelers should carry more water, food, charging power, and weather gear because help may take longer.
Family vehicles benefit from extras such as a first-aid kit, child-friendly snacks, and a blanket. Work trucks often need a tougher case, stronger cables, more durable gloves, and room for tools that match the vehicle’s jobsite use.
Climate, road type, and seasonal risks: heat, snow, rain, and rural routes
Hot climates can drain batteries and damage sealed items, while cold weather can reduce battery output and make tire pressure drop. Rain and snow also make visibility gear and traction tools more important.
If you drive rural highways, mountain roads, or long stretches without services, carry more than the minimum. A tire inflator and a flashlight are helpful anywhere, but extra water, warm layers, and warning triangles matter more when traffic is light and help is far away.
Compact kits, full kits, and vehicle-specific add-ons: what each driver actually needs
Compact kits are best for drivers who want the basics in a small bag. Full kits make sense when you want more self-sufficiency, but they should still be organized so you can reach the important items fast.
- Confirm vehicle, model-year, voltage, port, tire, battery, or system compatibility
- Check included accessories, required apps, adapters, hoses, cables, and power needs
- Review warranty, returns, support, firmware, and update policy
- Count replacement parts, batteries, subscriptions, storage, and maintenance costs
- Confirm the tool can be used safely in the intended roadside, garage, or diagnostic task
Roadside Safety First: Where to Stop, How to Stay Visible, and What to Do Before Opening the Kit
Safety comes before troubleshooting. A flat tire or warning light is frustrating, but standing in traffic or working in a blind spot creates a bigger risk than the original problem.
Safe location choices: shoulder, turnout, parking lot, or lane-adjacent emergency stop
Pull into a parking lot, turnout, or wide shoulder when possible. If you must stop near traffic, choose the flattest, widest, and most visible spot available, then turn on hazard lights and keep passengers away from moving lanes.
Traffic visibility essentials: reflective triangles, vest, flashlight, hazard lights, and positioning
Reflective triangles, a high-visibility vest, and a bright flashlight help other drivers see you earlier. Place warning devices according to your vehicle manual and local rules, and keep your body out of traffic as much as possible.
Storage conditions and post-use inspection: heat, moisture, battery leakage, and missing items
Roadside kits often live in trunks, rear cargo areas, or under seats, where heat and moisture can wear them out. Check for corroded battery terminals, cracked plastic, swollen power banks, damp bandages, and missing triangles after each use.
That maintenance habit matters because a kit is only useful if it still works when you need it. If you want to compare battery-related roadside tools, our article on what a battery test can reveal explains the limits of a quick check.
Battery and Electrical Tools: Jump Starters, Cables, and Power Limits
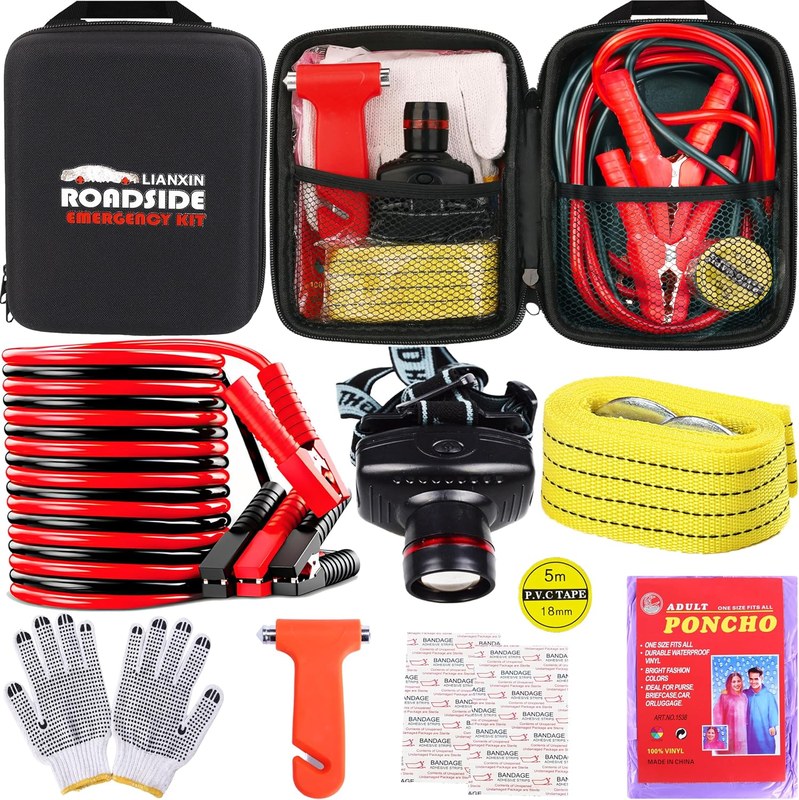
Battery tools are among the most important items in a roadside kit, but they are also the easiest to misuse. The safest choice depends on your vehicle’s electrical system and the condition of the battery itself.
12V system basics, battery chemistry, and why hybrid/EV owners need different guidance
Most gas vehicles use a 12V system for starting and accessories, but hybrids and EVs can have different layouts and service procedures. Some still use a 12V auxiliary battery, while the high-voltage system is separate and should not be treated like a normal roadside battery.
Correct connection order, clamp quality, cable length, and current limits
Good jumper cables should have solid clamps, enough length to reach safely, and a gauge suited to the vehicle. Follow the owner’s manual for connection order, because reversing the sequence or forcing a poor connection can damage electronics or create sparks.
State of charge vs. battery health: what a jump can and cannot tell you
A jump start may get the engine running, but it does not prove the battery is healthy. A weak battery can still start once and fail again later, which is why a proper battery check after the event is smart.
Damaged-battery stop conditions: swelling, leaking, odor, corrosion, or heat
Alternatives to carry: portable power bank, tire inflator power source, and fuse-safe accessories
A portable jump starter can be easier for one person to use than cables, and a separate power bank can keep your phone alive if the car battery is dead. If you add powered accessories, make sure their plugs, fuses, and current draw match the vehicle outlet and the tool instructions.
Tire Repair and TPMS Readiness: What Helps, What Only Temporarily Helps, and What Needs a Shop
Flat tires are one of the most common roadside problems, so your kit should help you measure pressure, add air, and decide whether the tire can be repaired or needs replacement.
Door-jamb placard, cold pressure, and gauge accuracy: setting the baseline correctly
Start with the pressure listed on the driver-door placard, not the number on the tire sidewall. Check pressure when the tires are cold, and use a gauge you trust, because a bad reading can lead to underinflation or overinflation.
Inflator comparison: built-in compressor vs. portable inflator vs. sealant kit
A built-in compressor is convenient if your vehicle has one, but many drivers still prefer a portable inflator for flexibility. Sealant kits may get you moving briefly, yet they are temporary and may not be appropriate for every puncture or every tire design.
For a deeper look at compact inflators, our guide to using a portable tire inflator safely covers the practical side of roadside air-up tasks.
Inflator duty cycle, hose quality, and power source compatibility
Inflators vary in duty cycle, hose length, and power source. A unit that overheats quickly or cannot reach the valve stem comfortably is less useful on the shoulder, even if the box looks impressive.
TPMS relearn limits, sensor behavior after inflation, and warning-light expectations
After you add air, the TPMS light may not turn off right away. Some vehicles update quickly, while others need to be driven or relearned according to the manufacturer’s procedure, so do not assume the warning means the tire is still flat.
Puncture location, temporary-repair limits, and professional-repair thresholds
Not every puncture is safe to repair at the roadside. Sidewall damage, large cuts, bead damage, or a tire that has been driven too far while flat usually means the tire needs professional attention.
Patch, plug, or replace: sidewall damage, shoulder damage, and tread-depth concerns
Small tread-area punctures may sometimes be repairable by a tire shop, but shoulder and sidewall damage are different. If the damage is close to the sidewall or the tire is worn out, replacement is often the safer choice.
OBD2 Diagnostics in a Roadside Kit: What a Scanner Can Reveal and Where It Stops
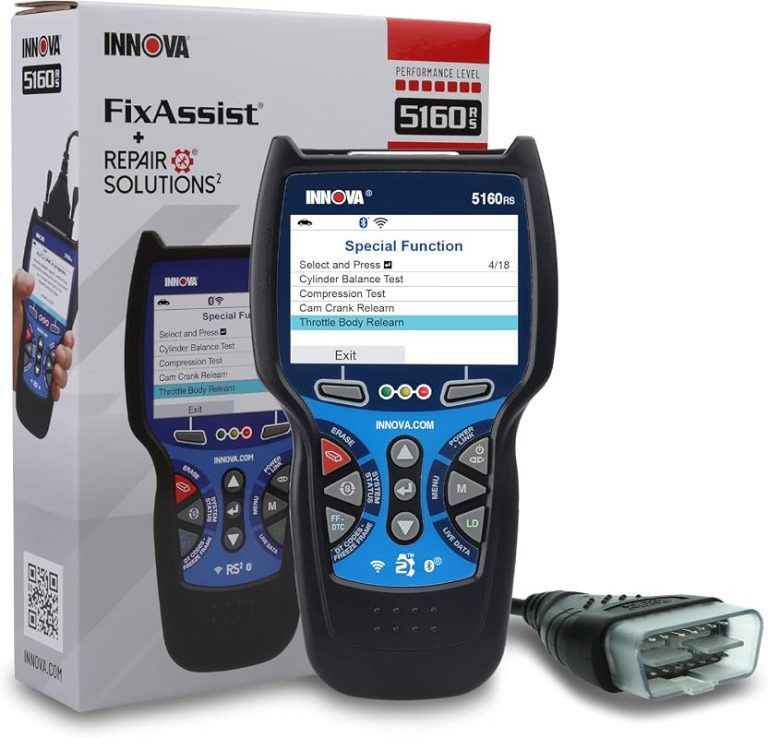
An OBD2 scanner is useful when a warning light appears and you want to know whether the issue is urgent. It can save time, but it is not a magic fix and it cannot replace proper diagnosis when the problem is complex.
Model-year and protocol coverage: why not every scanner fits every 2026 vehicle
Scanner compatibility depends on model year, protocol support, and vehicle type. Always check whether the tool supports your exact vehicle before buying, especially if you drive a newer model, a hybrid, or a vehicle with special communication needs.
Port location, ignition mode, and safe connection steps
Most OBD2 ports are under the dash near the steering column, but the exact location varies. Plug the scanner in with the vehicle parked and follow the correct ignition mode so you do not create a connection problem or distract yourself in traffic.
Code reading vs. live data: what you can learn on the shoulder and what you cannot
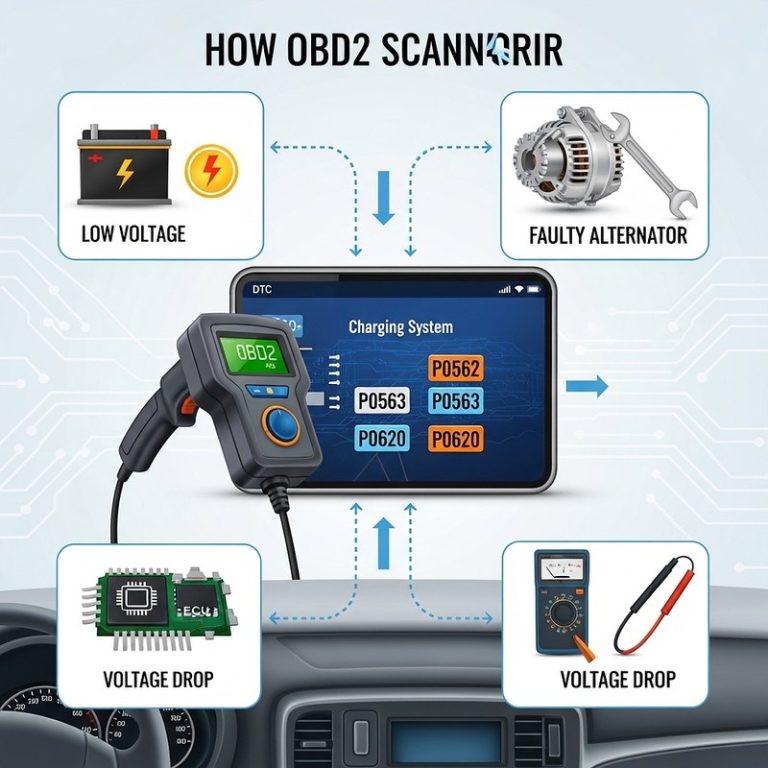
Reading codes can tell you which system complained, while live data can show sensor values and trends. That said, a scanner usually cannot prove the root cause by itself, especially if the fault is intermittent or caused by wiring, voltage, or another system.
Emissions readiness, reset limitations, and why clearing codes can create new problems
Clearing codes may erase useful information and reset readiness monitors. If the issue is emissions-related, a reset can make inspection readiness worse until the vehicle completes its drive cycles again.
App permissions, firmware updates, and privacy considerations for Bluetooth scanners
When diagnosis requires a professional: intermittent faults, safety systems, and no-start conditions
If the car will not start, the fault comes and goes, or a safety system is involved, a roadside scanner may only give you a starting point. At that stage, a professional diagnosis is usually the safer and faster next step.
Comparing Emergency Kit Options Side by Side: Basic, Mid-Range, and Premium Picks
Emergency kits are easiest to judge by what they do well, what they leave out, and how much space and upkeep they require. The best choice is not always the biggest one.
| Option | Best for | Owner consideration | Driver consideration |
|---|---|---|---|
| Basic kit | City drivers and new drivers | Lower cost, fewer parts to maintain | Fast to store and easy to reach |
| Mid-range kit | Commuters and family vehicles | Better balance of tools and upkeep | More complete without too much clutter |
| Premium kit | High-mileage drivers and severe weather | More space, more batteries, more upkeep | Best visibility and self-help coverage |
Comparison criteria: safety, compatibility, power, tool completeness, durability, and ownership cost
Judge kits on whether they help you stay visible, power your phone, inflate a tire, and start the car safely. Then check compatibility, build quality, and whether the contents are easy to inspect and replace.
Which kit fits city drivers, new drivers, SUV owners, and high-mileage commuters
City drivers usually need compact, easy-to-store gear. SUV owners and commuters often benefit from a mid-range kit with better cables, a stronger inflator, and more room for seasonal items.
Best value vs. best protection vs. best for extreme weather
Best value usually means the kit covers the most common problems without wasting space. Best protection means better visibility and more power tools, while extreme-weather kits should prioritize warmth, traction, and backup charging.
Limitations of each tier: what you still need to buy separately
No kit covers every problem. You may still need a separate tire compressor, a better flashlight, a quality battery charger, or a scanner that matches your exact vehicle and app preferences.
Product Review Framework for CarValleyNJ Readers: How to Judge a Kit Before You Buy
When you compare roadside kits, focus on what is verified and useful, not on flashy packaging. A good kit should hold up in storage, work with your vehicle, and make a stressful stop simpler instead of busier.
Evaluation criteria: build quality, evidence limits, warranty/support, and replacement parts
Look for sturdy cases, reliable zippers or latches, clear instructions, and support from the manufacturer. Also check whether replacement batteries, fuses, hoses, or cables are easy to find if something wears out.
Ideal user and ideal vehicle compatibility: sedans, trucks, hybrids, EVs, and older cars
Some kits are ideal for simple 12V gas vehicles, while others are better for trucks, hybrids, or newer cars with more electronics. If you drive a hybrid or EV, verify the manual before adding any battery-related tool to your kit.
Drawbacks to watch for: weak cables, undersized compressors, short battery life, and missing tools
A kit can look complete and still fail where it matters. Weak jumper cables, a tiny inflator, a flashlight that dies quickly, or missing triangles can turn a “roadside kit” into a glove-box accessory.
Transparent verdict style: how to separate marketing claims from real roadside usefulness
Good editorial judgment starts with the question, “Will this help me safely solve a common problem on the shoulder?” If the answer is no, the claim is probably more marketing than value.
Maintenance, Replacement, and Next Steps: Keeping the Kit Ready All Year
A roadside kit needs upkeep. Batteries age, sealant expires, gloves disappear, and flashlights get left on, so a quick check is part of owning the kit.
Monthly and seasonal checks: battery charge, air pressure gauge, flashlight, and expiration dates
Check the jump starter or power bank charge level monthly if the manufacturer recommends it. Also test the flashlight, inspect the gauge, and review expiration dates on first-aid items, water, and sealant before extreme weather seasons.
Replacing worn or expired items: gloves, sealant, batteries, water, and first-aid supplies
Disposable items are easy to forget until you need them. Replace used gloves, old batteries, expired water, and any sealant or medical supplies that are past their service life.
Legal variation and ownership cost: state rules, roadside triangles, and insurance considerations
When to upgrade your kit, when to call roadside assistance, and when to visit a repair shop
Upgrade your kit when your driving changes, your vehicle changes, or you keep borrowing the same item from home. Call roadside assistance if the stop is unsafe, and go to a repair shop when the issue is beyond a temporary roadside fix.
- Best for: Drivers who want a practical, safe kit for flats, dead batteries, poor visibility, and long waits for help.
- Think twice if: You expect one kit to solve every problem, especially hybrid/EV battery issues, major tire damage, or complex warning lights.
- Next step: Build your kit around your vehicle manual, then verify compatibility for the jump starter, inflator, triangles, and scanner before buying.
Frequently Asked Questions
The most important items are reflective triangles or flares, a high-visibility vest, a flashlight, jumper cables or a jump starter, a tire gauge, a portable inflator, gloves, and a phone charger. A first-aid kit and water are also smart additions.
Either can work, but a portable jump starter is often easier for one person to use. Jumper cables are still useful, but they require another vehicle and correct connection steps.
Usually no. A kit may help you add air or use a temporary sealant, but sidewall damage, large cuts, or heavily driven flats often need professional repair or replacement.
Yes, you should check the owner’s manual before using battery tools on a hybrid or EV. Many still have a 12V system, but high-voltage components require different safety rules.
Check it monthly or at least each season. Make sure the flashlight works, batteries are charged, sealant is not expired, and nothing is damaged by heat or moisture.
Verify vehicle compatibility, included accessories, power needs, warranty, support, and replacement part availability. Also confirm the kit fits your climate, driving distance, and storage space.