How to Use Foxwell NT301 on a 2016 Honda Accord
Quick Answer: Using a Foxwell NT301 Scanner on a 2016 Honda Accord
The Foxwell NT301 is a good basic scanner for a 2016 Honda Accord if you need to read and clear check-engine codes, view emissions readiness, and check live engine data. It is not a Honda dealer-level tool for every body, airbag, ABS, or transmission function.
Quick Answer: Using a Foxwell NT301 on a 2016 Honda Accord
Yes, you can use a Foxwell NT301 scanner on a 2016 Honda Accord for standard OBD2 engine diagnostics. Plug it into the OBD2 port under the driver-side dashboard, turn the ignition to ON without starting the engine if you only need a code scan, then read stored and pending check-engine codes before clearing anything.
The NT301 is best for engine/emissions codes, freeze-frame data, live data, and I/M readiness. It is not the right tool for every Honda-specific system, so use a higher-level Honda-capable scanner if you need ABS, airbag, transmission module, TPMS relearn, or advanced service functions.
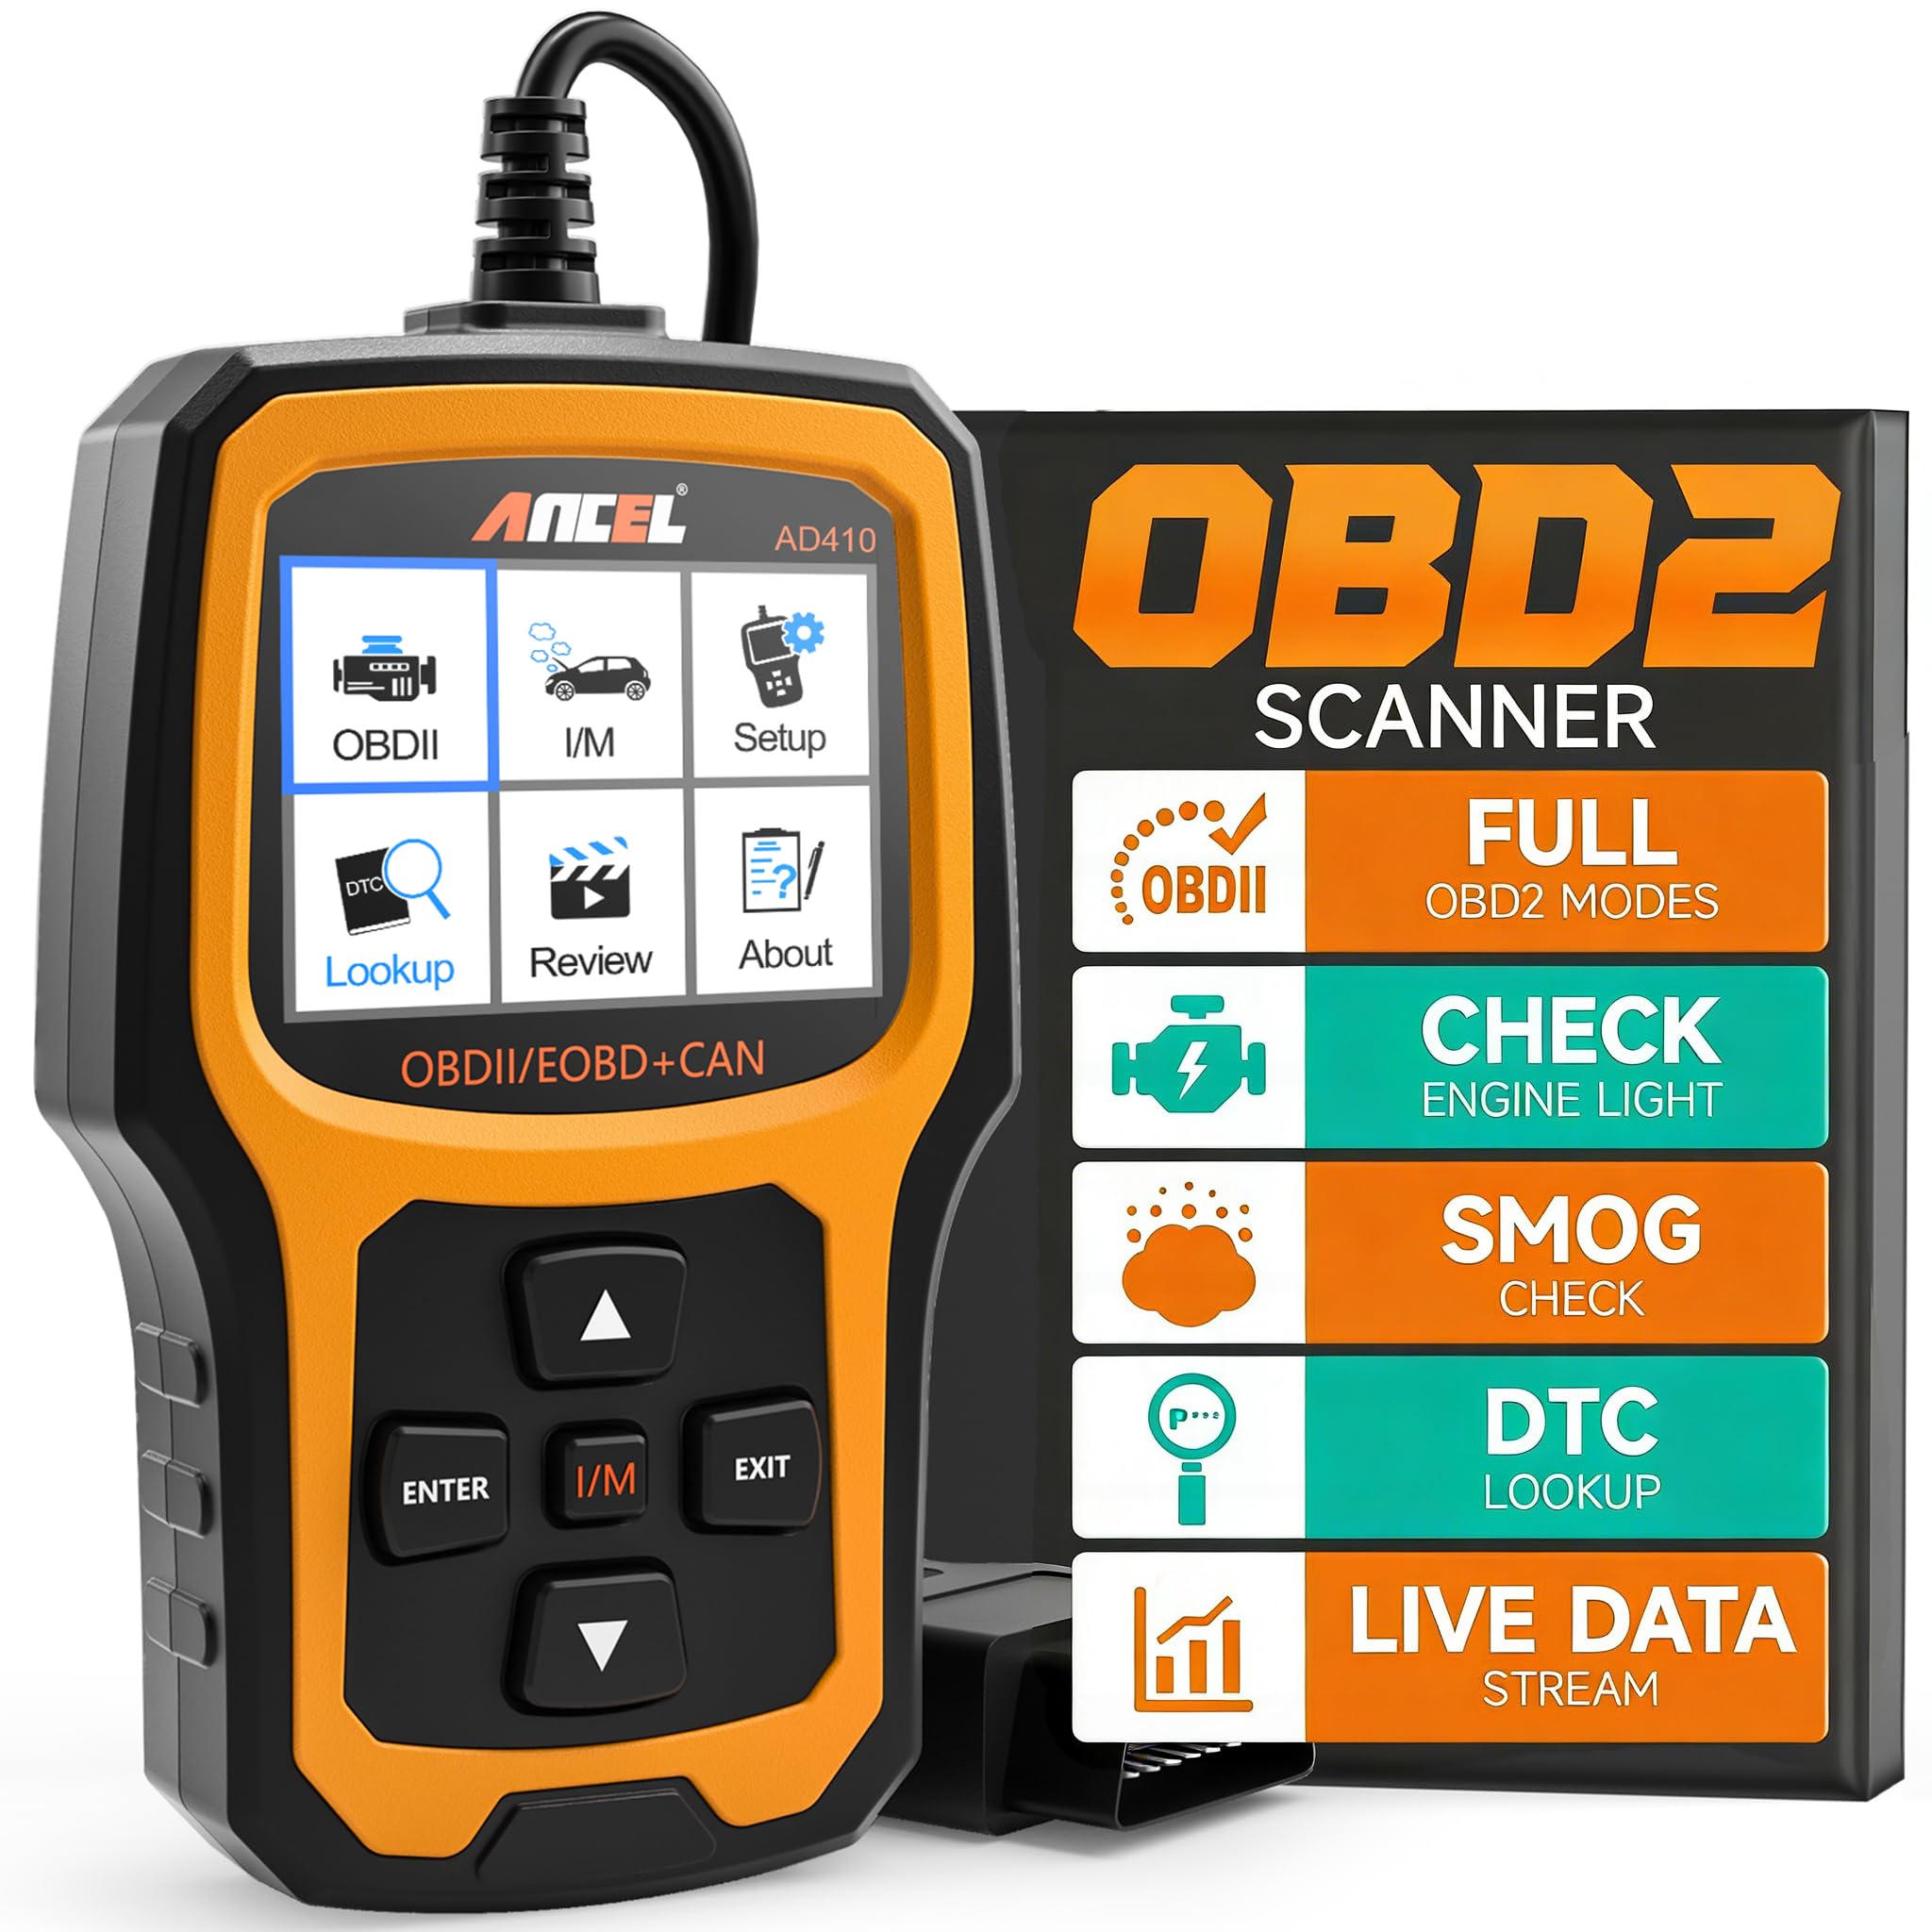
Good Fit for Basic Honda Accord Engine Codes: Foxwell NT301
For a 2016 Accord check-engine light, the NT301 is a practical handheld code reader. Use it to read codes first, note the freeze-frame data, fix the cause, then clear the light only after the repair.
The Foxwell NT301 helps you check common engine and emissions problems through your vehicle’s OBD2 port. You can use it to read trouble codes, view live engine data, check emissions readiness, and clear codes after fixing the cause.
To use the Foxwell NT301, connect it to the OBD2 port, turn on the ignition, scan for codes, and review the results before clearing any warning light. You will also learn how to prepare for a scan, understand code details, and handle basic connection or power issues.
The Foxwell NT301 is simple to use once the ignition is on and the scanner is connected to the OBD2 port. Read codes first, write them down, check freeze-frame or live data, and only clear codes after the real issue has been fixed.
- Need the scanner? NT301 is best for basic engine-code, live-data, and emissions-readiness checks.
- Check compatibility: confirm your vehicle supports OBD-II/EOBD before buying.
- Need ABS or SRS? consider a higher Foxwell model instead of the basic NT301.
Key Takeaways
- Connect the scanner with the ignition switched on.
- Review trouble codes before clearing them.
- Use live data and readiness checks for added information.
Getting Ready for a Diagnostic Scan
Before scanning, confirm that your vehicle uses the OBD-II or EOBD system and identify the diagnostic port. Park safely, switch off electrical accessories, and keep the vehicle’s ignition settings correct during connection.

Good Fit for Basic Honda Accord Engine Codes: Foxwell NT301
For a 2016 Honda Accord, the NT301 is most useful for check-engine diagnostics, freeze-frame data, live sensor data, and emissions readiness before inspection.
Checking Vehicle Compatibility
The Foxwell NT301 works with vehicles that support OBD-II or EOBD diagnostics. Most vehicles sold in the United States from the 1996 model year and many vehicles sold in Europe from 2001 onward use this system. Check your owner’s manual or vehicle specifications if you are unsure.
The scanner mainly accesses emissions-related data through the vehicle’s engine control module. It may not communicate with systems such as the airbag, transmission, or body control module unless the vehicle and tool support those functions.
Before connecting the NT301, make sure the vehicle has a standard 16-pin OBD-II connector. Turn off the engine and switch off accessories such as the radio and headlights. Keep the vehicle parked safely, with the transmission in Park or neutral and the parking brake set.
Locating the OBD-II Port
The OBD-II port usually sits beneath the dashboard on the driver’s side. Check below the steering wheel, near the lower edge of the dashboard, or beside the driver’s knee area. Some vehicles place it behind a small cover or panel.
Use a flashlight if the port is difficult to see. Do not force the connector into place. The plug has a keyed shape, so align it with the socket and push it in firmly.
Connect the NT301 while the ignition remains off unless your vehicle’s instructions specify otherwise. After connection, turn the ignition to the ON position without starting the engine. The scanner receives power through the port and can then communicate with the vehicle’s control module.
Connecting and Powering On the Scanner
The NT301 receives power through your vehicle’s OBD2 port, so you do not need batteries or a separate power adapter. After connecting it correctly, you can use the menu buttons and hot keys to access diagnostic functions.
Plugging In the NT301
Park your vehicle safely and switch off the ignition. Locate the 16-pin OBD2 port, usually beneath the dashboard on the driver’s side. Check your vehicle’s manual if you cannot find it.
Plug the NT301 cable firmly into the port. The connector fits only one way, so do not force it. Turn the ignition to the ON position without starting the engine. The scanner should power on from the vehicle.
If the screen stays blank, check that the connector is fully inserted and that the ignition is on. Some vehicles require the engine to run before the scanner communicates with the control module. Avoid connecting or removing the scanner while the ignition is switching on or off.
Navigating the Main Menu
After startup, the NT301 may ask you to select the vehicle’s communication settings or confirm automatic protocol detection. Follow the screen prompts and wait while the scanner establishes communication with the vehicle.
Use the arrow keys to move through the menu and press ENTER to select an option. Press ESC to return to the previous screen. The main menu commonly includes functions such as:
- Read Codes
- Erase Codes
- I/M Readiness
- Data Stream
- Vehicle Information
- Review
Select Read Codes to check stored or pending engine codes. Use I/M Readiness to review emissions monitor status before an inspection. Do not choose Erase Codes until you have recorded the codes and understood that clearing them also resets some readiness monitors.
Reading and Understanding Trouble Codes
Connect the NT301 to your vehicle’s OBD-II port, run a scan, and record every code before clearing anything. Use the code definitions and freeze frame data together to understand when the fault occurred and guide further testing.
Running an OBD-II Scan
Park safely, switch off the engine, and plug the NT301 into the OBD-II port, usually beneath the driver’s side dashboard. Turn the ignition to ON without starting the engine. The scanner will power up and establish communication with the vehicle.
Select Read Codes from the menu, then choose the available code category if prompted. The tool may display:
- Stored codes: Confirmed faults that turned on the warning light.
- Pending codes: Detected faults that have not yet occurred enough times to become confirmed.
- Permanent codes: Emissions-related faults that remain until the vehicle verifies a successful repair.
Write down the complete code, such as P0301, before performing any repair. Do not clear codes simply to turn off the warning light. If the scanner cannot communicate, check the connector, ignition position, and vehicle compatibility.
Viewing Code Definitions
Select a displayed code to view its built-in definition. The first character identifies the system: P means powertrain, B means body, C means chassis, and U means network communication. The second character shows whether the code uses a standard or manufacturer-specific definition.
Treat the definition as a starting point, not a diagnosis. For example, P0301 indicates a cylinder 1 misfire, but the cause could involve a spark plug, ignition coil, injector, vacuum leak, or engine problem. Inspect related parts and use service information for testing steps.
Record whether each code is stored, pending, or permanent. Multiple codes may share one cause, so diagnose the earliest or most related code first instead of replacing parts based on one definition.
Reviewing Freeze Frame Data
Choose Freeze Frame to view operating conditions captured when the vehicle stored a fault. Depending on the vehicle, the NT301 may show engine speed, coolant temperature, vehicle speed, fuel-trim values, throttle position, and engine load.
Compare these details with the symptoms you noticed. A misfire recorded during a cold start points toward different checks than one recorded under heavy load. A fault recorded at high engine speed may require inspection of fuel delivery, ignition performance, or air supply under those conditions.
Take a photo or write down the freeze frame values before clearing the codes. The data can disappear after you erase the fault or disconnect the battery. Use it with the code, inspection results, and vehicle service information to choose the next diagnostic test.
Clearing Codes and Resetting the Warning Light
You can use the Foxwell NT301 to erase stored trouble codes and switch off the check engine light. First, record the codes and repair the cause, then verify that no active fault remains before clearing the system.
When It Is Safe to Erase Codes
Erase codes only after you inspect or repair the related problem. The NT301 can remove the stored code, but it cannot fix the fault. If the light flashes, the engine runs poorly, or you smell fuel, stop driving and address the problem first.
- Park safely, turn off accessories, and switch the ignition off.
- Plug the NT301 into the vehicle’s OBD-II port, usually below the driver’s side dashboard.
- Turn the ignition to ON without starting the engine.
- Select Read Codes and write down every code and its description.
- After repairs, choose Erase Codes or Clear Codes and confirm the prompt.
Keep the scanner connected during the process. Do not erase codes just before an emissions test. Clearing them also resets the vehicle’s readiness monitors, which may need several normal drive cycles before they show complete.
Confirming the Reset
After the NT301 reports that the codes were erased, turn the ignition off, wait about 10 seconds, and turn it back on. Check that the check engine light stays off before starting the engine.
Start the engine and watch the light and engine behavior. Then use Read Codes again. The scanner should show no stored or pending codes. If the light returns immediately, the vehicle still detects a fault, or the repair did not solve the cause.
You can also select I/M Readiness to check the emissions monitors. A result marked Ready means the monitor completed its test. Not Ready does not always mean a new fault; it often means the vehicle needs more driving under varied conditions. Avoid clearing codes again, because each reset starts the monitor checks over.
Using Live Data and I/M Readiness
Live data shows current readings from engine sensors, while I/M readiness shows whether the vehicle has completed required emissions self-tests. Use both functions to identify sensor problems and check whether your vehicle may pass an emissions inspection.
Monitoring Sensor Readings
Connect the NT301 to the OBD2 port with the ignition off. Turn the ignition on, start the engine when prompted, and select Live Data from the main menu. Choose a data list or view individual parameters, depending on the information you need.
Check readings with the engine cold, at idle, and during a short drive. Useful values include:
- Engine coolant temperature: Should rise steadily as the engine warms.
- Engine speed: Shows current RPM.
- Vehicle speed: Helps compare sensor data during driving.
- Short- and long-term fuel trim: Large, steady corrections may point to fuel, vacuum, or sensor problems.
- Oxygen sensor data: Changes can help reveal fuel-control issues.
Compare readings with the vehicle maker’s specifications. The NT301 displays data, but it does not prove that a part has failed. Save or record unusual values, then test related wiring, hoses, and components before replacing parts.
Checking Emissions Readiness Status
Select I/M Readiness from the NT301 menu to check the status of emissions monitors. The screen may show each monitor as Ready, Not Ready, or Not Applicable. Ready means the vehicle completed that self-test; Not Applicable means the monitor does not apply to that vehicle.
A monitor may remain Not Ready after you clear trouble codes, disconnect the battery, or repair a fault. The vehicle must complete its required drive conditions before the monitor can run again. Follow the manufacturer’s drive-cycle instructions, which may require cold starts, steady-speed driving, deceleration, and stop-and-go operation.
Do not clear codes just before an inspection. Clearing them resets readiness monitors and can cause an inspection failure even if the warning light stays off. Check the display again after completing the drive cycle. If a monitor will not become ready, scan for stored or pending codes and investigate the related system.
Maintaining the Device and Handling Common Issues
Keep the NT301 software current and protect the scanner from heat, moisture, and impact. Most connection problems come from the vehicle’s power supply, the OBD-II port, or an incorrect ignition setting.
Updating Software
Check Foxwell’s official website for updates that support the NT301. Use the model number shown on the scanner or its label to avoid installing software for another Foxwell device.
Install the Foxwell update program on a computer if the download requires it. Connect the scanner with a compatible USB cable, then follow the program’s instructions. Keep the scanner connected until the update finishes.
Important precautions:
- Use a stable computer connection.
- Do not unplug the cable during an update.
- Do not switch off the computer while the update runs.
- Confirm that the scanner starts normally after installation.
If the update program does not detect the scanner, try another USB port or cable. Some cables only charge devices and cannot transfer data.
Troubleshooting Connection Problems
Park the vehicle safely and turn the ignition off before connecting the NT301. Plug the scanner firmly into the vehicle’s 16-pin OBD-II port, usually located under the dashboard near the steering column.
Turn the ignition to ON without starting the engine. This powers the scanner and lets it communicate with the vehicle. If the screen stays blank, check whether the vehicle supplies power through the OBD-II port. Inspect the port for bent pins, dirt, or loose wiring.
If the scanner powers on but cannot link to the vehicle, confirm that the vehicle supports OBD-II or EOBD. Try turning the ignition off, waiting briefly, and starting the connection again. A blown fuse, damaged port, unsupported vehicle system, or active electrical fault may prevent communication. Never force the connector into the port.
Frequently asked questions
Can I use a Foxwell NT301 scanner on my 2016 Honda Accord?
If you are using a Foxwell NT301 scanner on my 2016 Honda Accord, the right workflow is to connect it to the OBD2 port, turn the ignition on, read the codes, save the freeze-frame data, and only clear codes after the issue is fixed.
Yes. You can use a Foxwell NT301 on a 2016 Honda Accord to read and clear standard OBD2 engine codes, view freeze-frame data, check live engine data, and confirm emissions readiness. For Honda-specific ABS, airbag, transmission, TPMS, or service functions, use a more advanced Honda-capable scanner.
Where is the OBD2 port on a 2016 Honda Accord?
On most 2016 Honda Accord models, the OBD2 port is under the driver-side dashboard near the steering column. Plug the NT301 in firmly, turn the ignition on, and wait for the scanner to power up before selecting the OBD2 scan menu.
Does the Foxwell NT301 work with every vehicle?
It works with vehicles that support the OBD-II or EOBD standard. Most vehicles sold in the United States from 1996 onward support OBD-II. Check your vehicle’s manual if you are unsure.
Where do you connect the scanner?
Find the 16-pin diagnostic port, usually under the dashboard near the steering column. Turn off the engine, plug in the NT301, then turn the ignition to ON without starting the engine.
Can the NT301 clear a check engine light?
Yes. After you read and repair the fault, choose Erase Codes and follow the screen instructions. Clearing a code does not repair the problem, and the light may return if the fault remains.
Why does the scanner show no link?
Check that the connector is fully inserted and the ignition is on. If the scanner still cannot connect, inspect the vehicle’s diagnostic-port fuse and confirm that your vehicle supports the scanner’s protocols.
Will clearing codes reset emissions tests?
Usually, yes. Erasing codes can reset the vehicle’s readiness monitors to not ready. Drive normally until the monitors complete before an emissions inspection.
Can you use it to diagnose an airbag or ABS fault?
The NT301 mainly reads engine and emissions-related OBD-II codes. It may not access separate airbag, ABS, transmission, or manufacturer-specific systems.
Conclusion
The Foxwell NT301 gives you a practical way to check your vehicle’s OBD-II system. You can read trouble codes, view basic live data, check emissions readiness, and clear stored codes after you address the fault.
Use the scanner with the vehicle parked safely. Turn the ignition to the correct position, connect the tool to the OBD-II port, and follow the on-screen prompts. Record each code before clearing it, because the code can help you or a technician find the cause.
Keep these points in mind:
- Read codes before clearing them.
- Check the code definition and related symptoms.
- Repair the problem before erasing the code.
- Run a readiness check before an emissions test.
- Seek professional help when the fault involves safety systems or complex repairs.
Clearing a code does not repair the underlying problem. If the warning light returns, use the stored code and live data as a starting point for further testing.



4 Comments